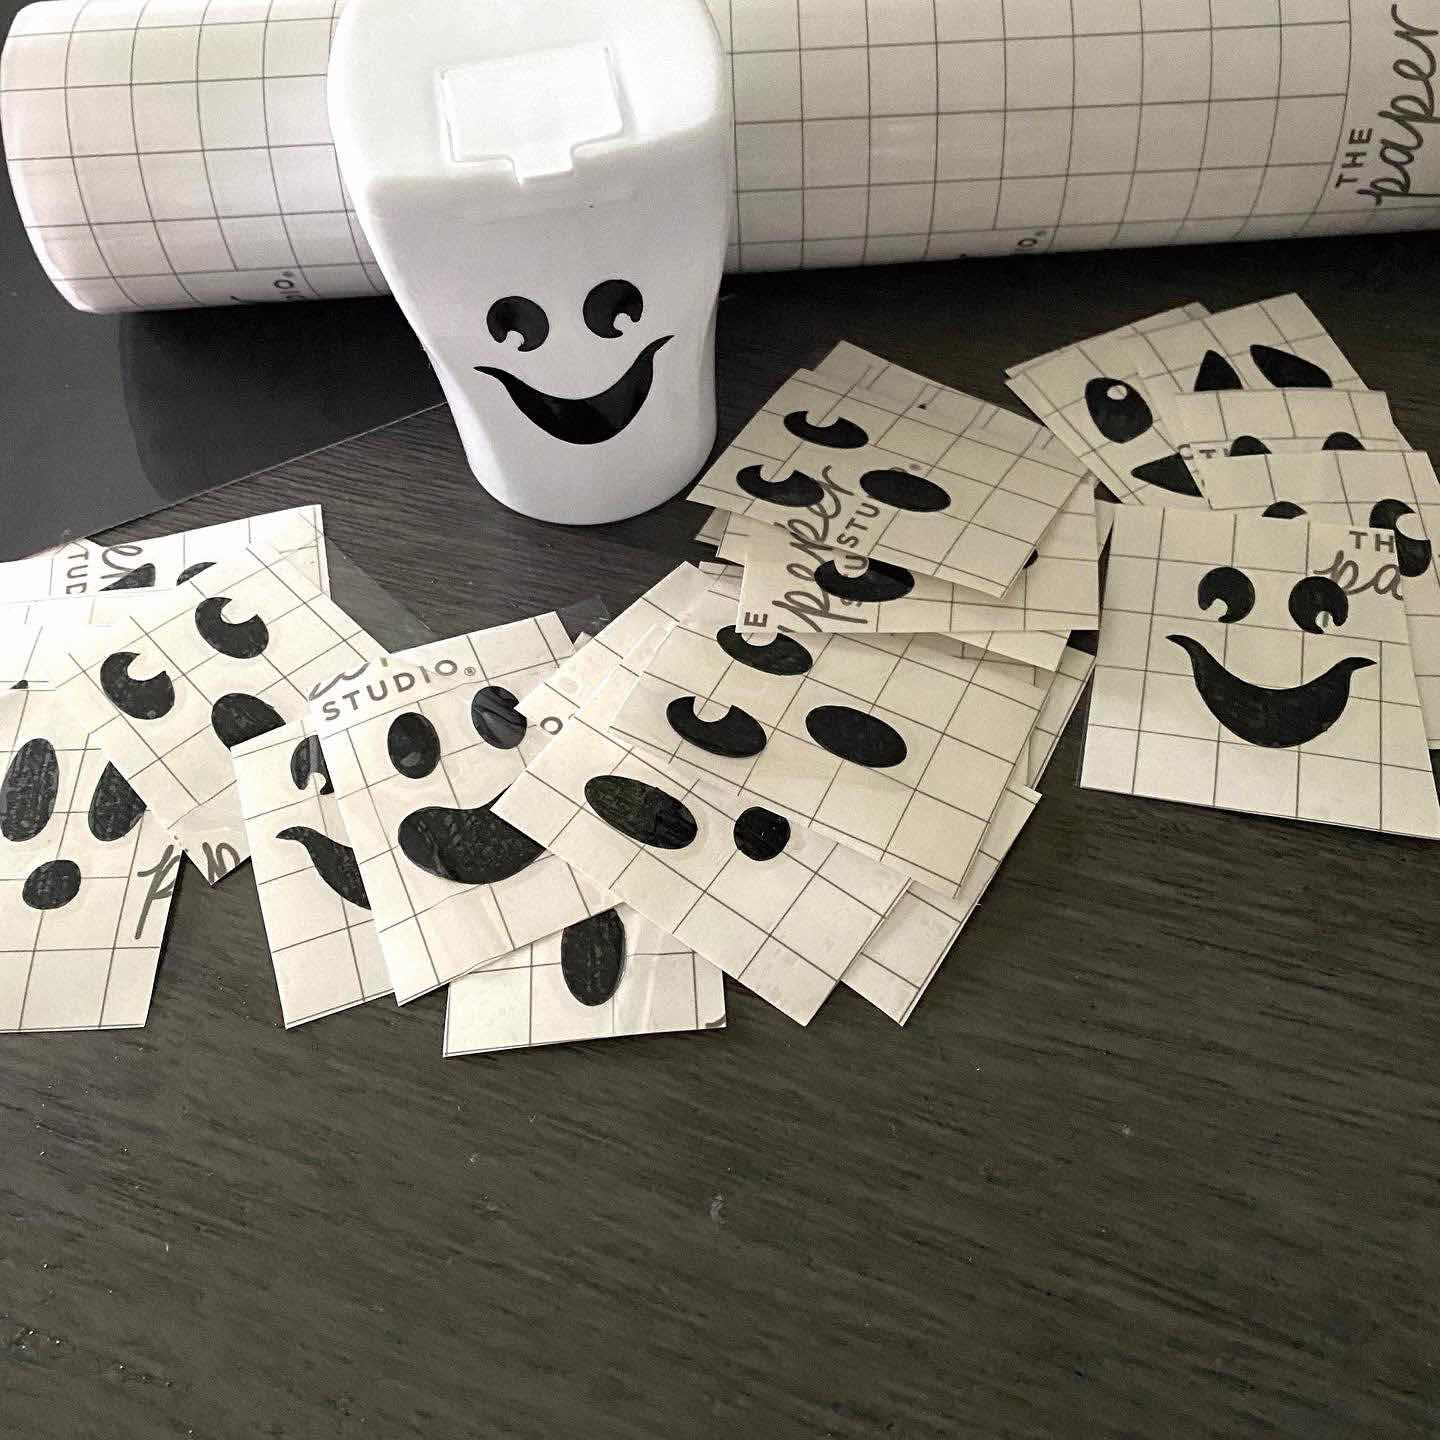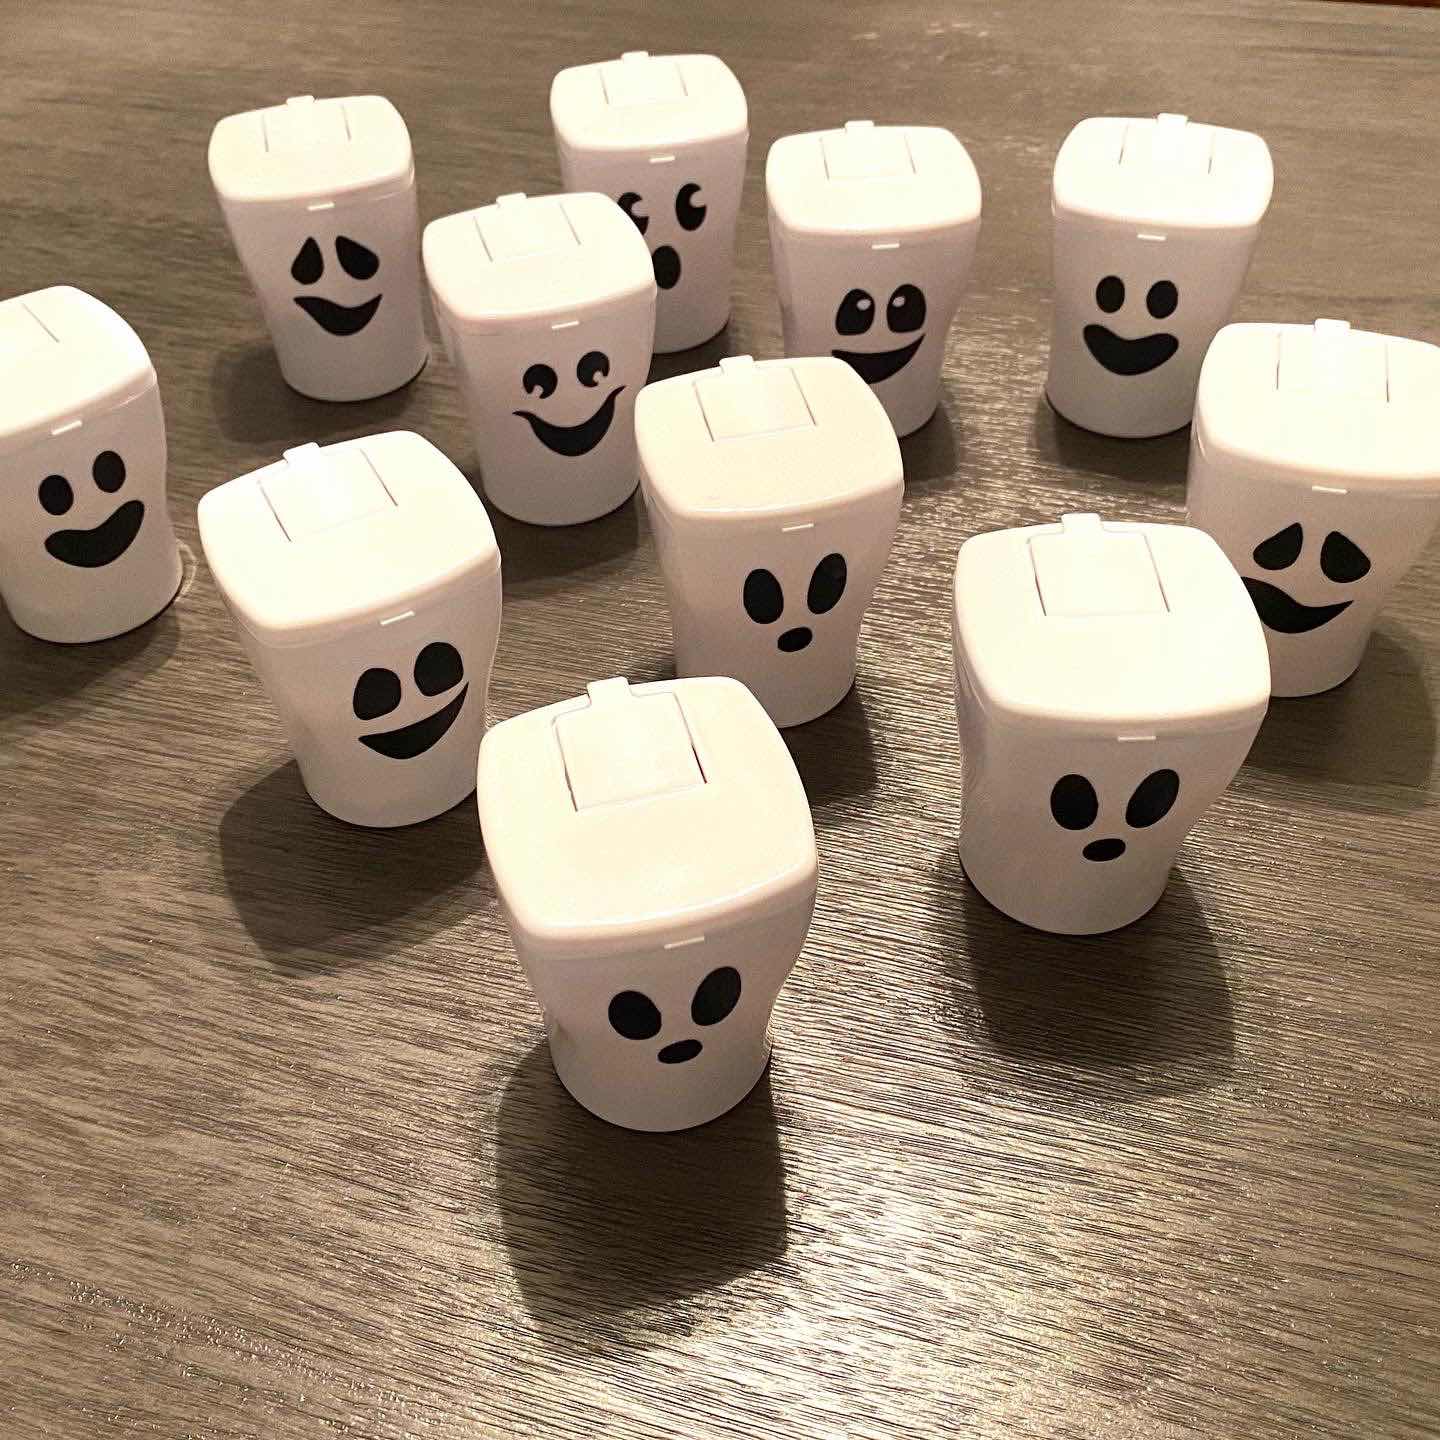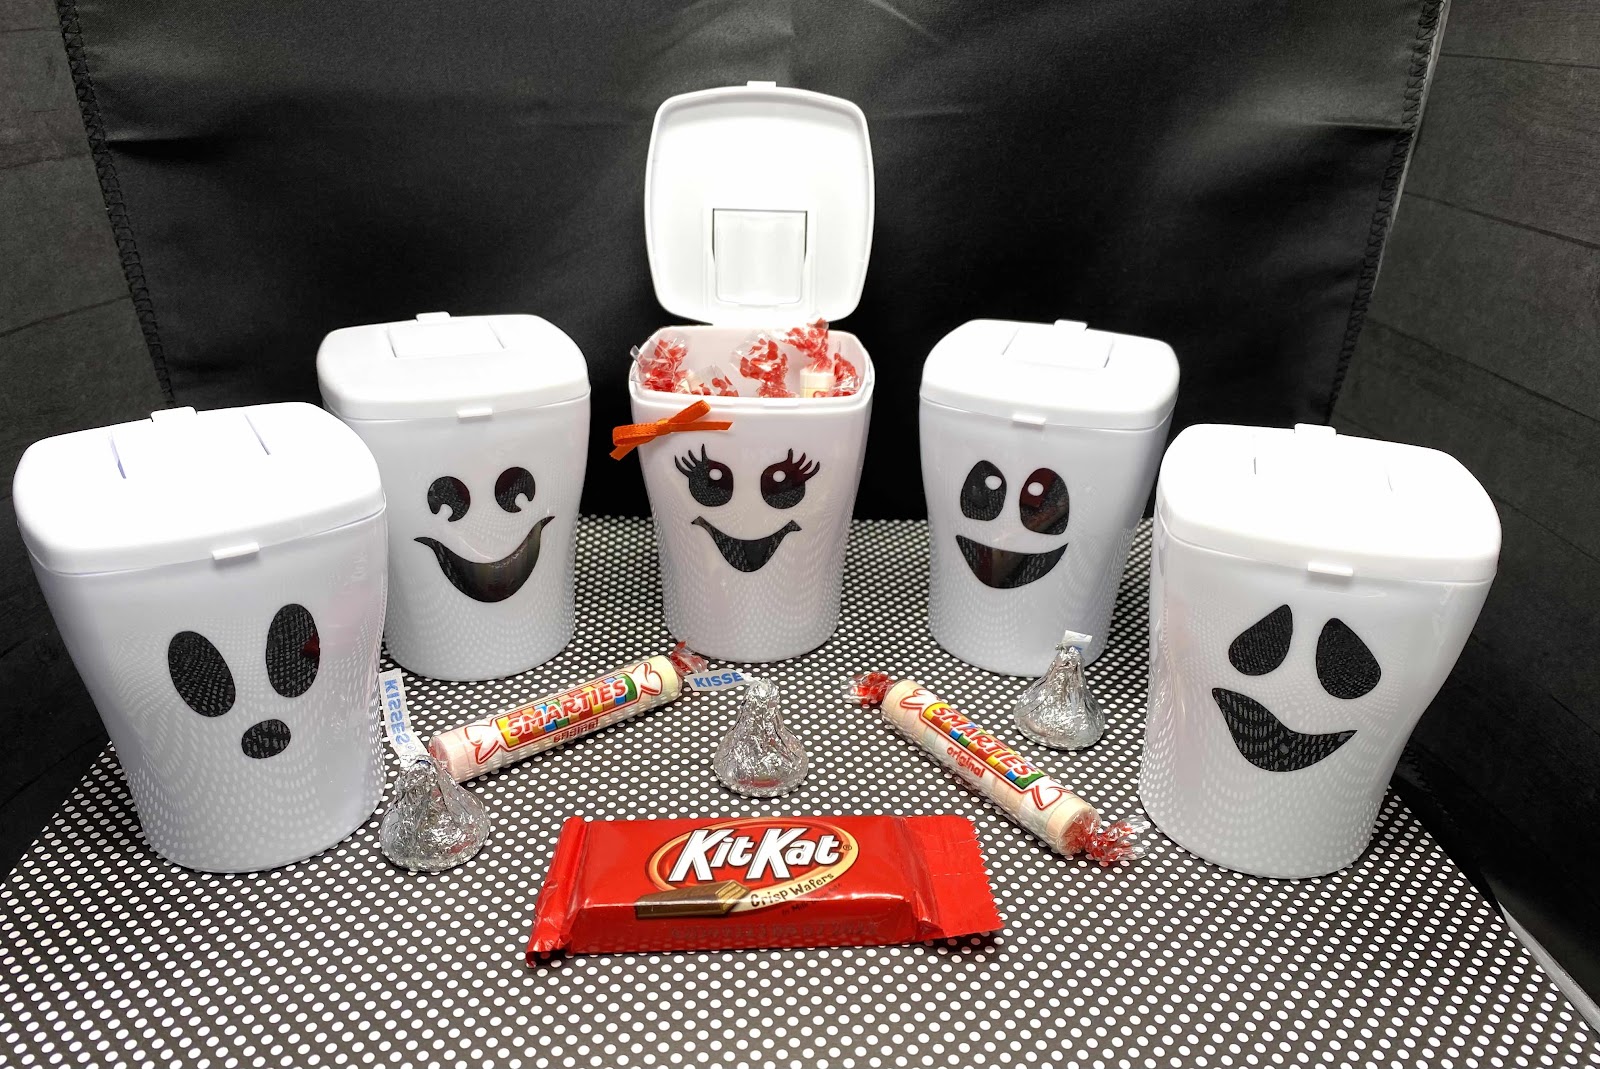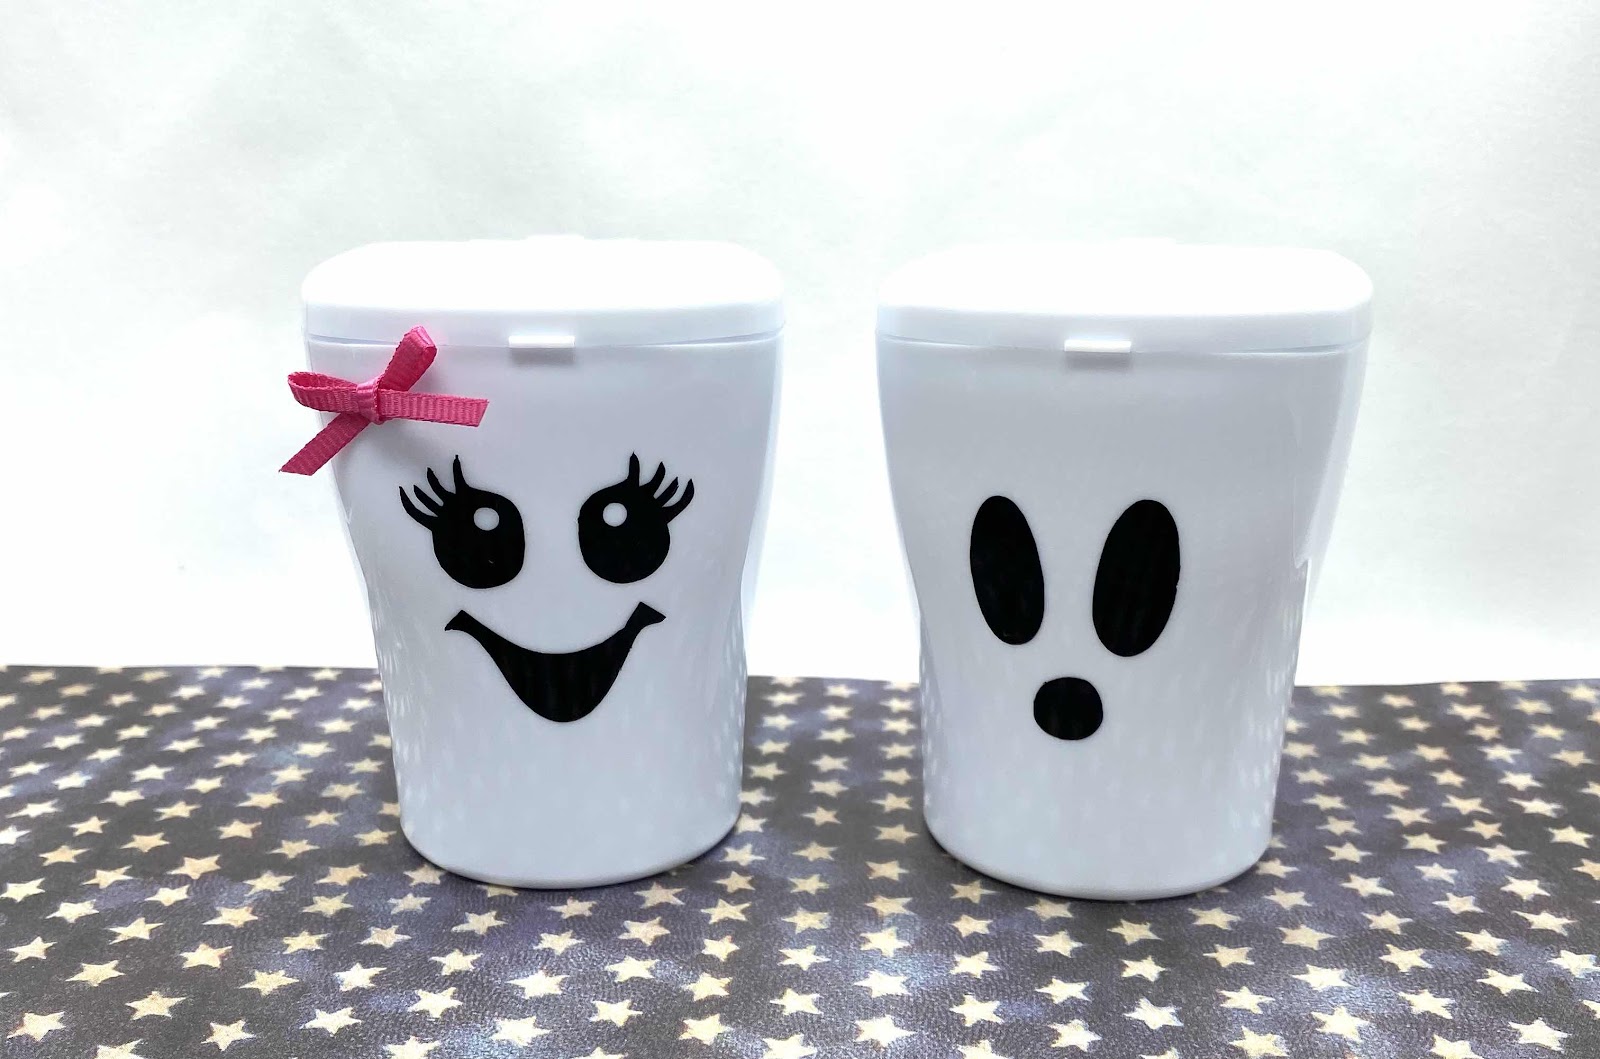
I got the ghost faces pattern from AvocadoDigitals on Etsy and cut them out on my Silhouette Cameo.
Showing posts with label General Crafts. Show all posts
Friday, November 12, 2021
Gum Container Ghosts
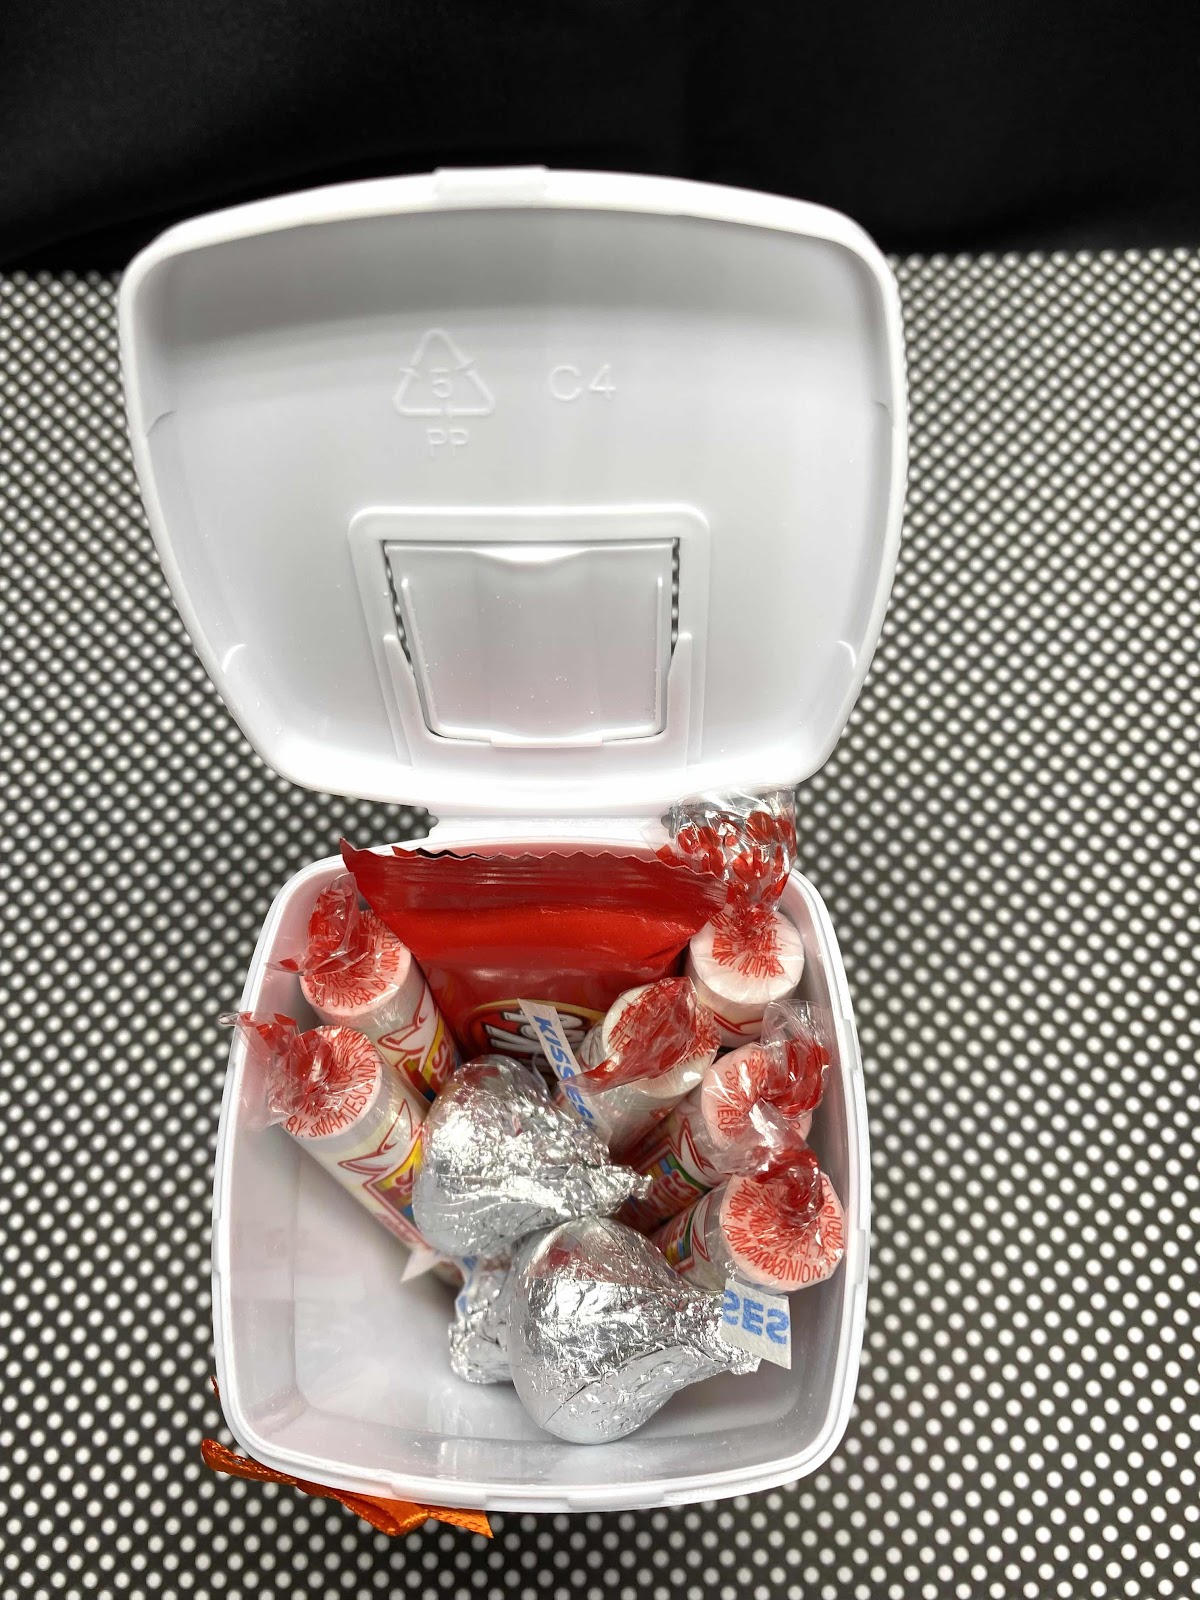
I know it's past Halloween, but you can now plan for next year. :) I had been saving these Ice Breakers gum containers for 2 or 3 years just knowing I’d find a use for them. I made a few snowmen out of them last year, but am loving these ghosts! I ended up making around 50 of them. Each one of the grandkids got one for Halloween. One of my grandson’s birthday is November 2nd, so I made a batch for his goody bags he took to school. One of my granddaughters birthday is November 3rd, so I made a batch for her to take with her goody bags to her softball team.


Tuesday, November 9, 2021
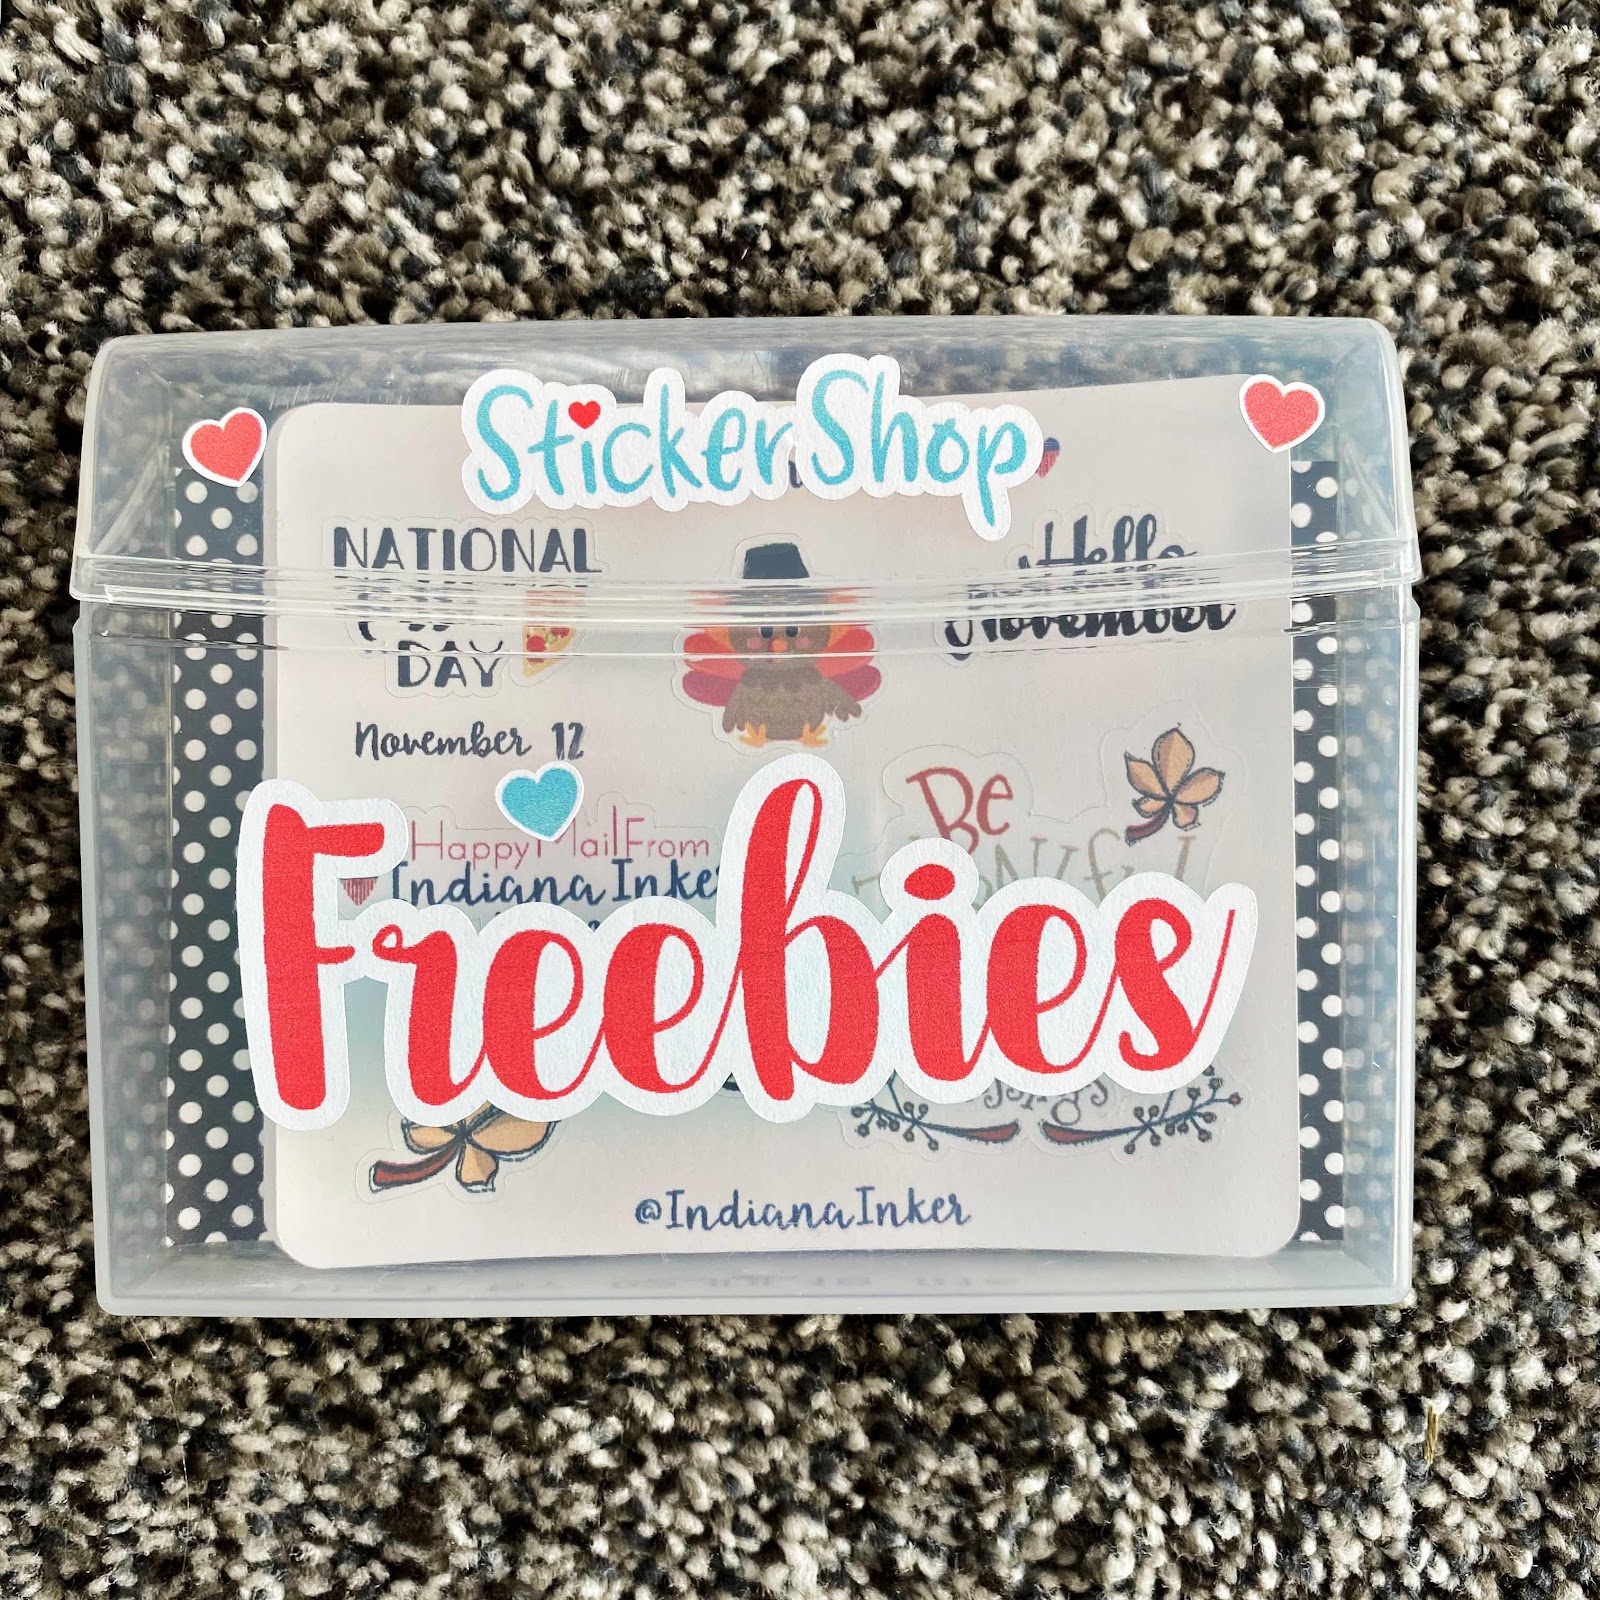
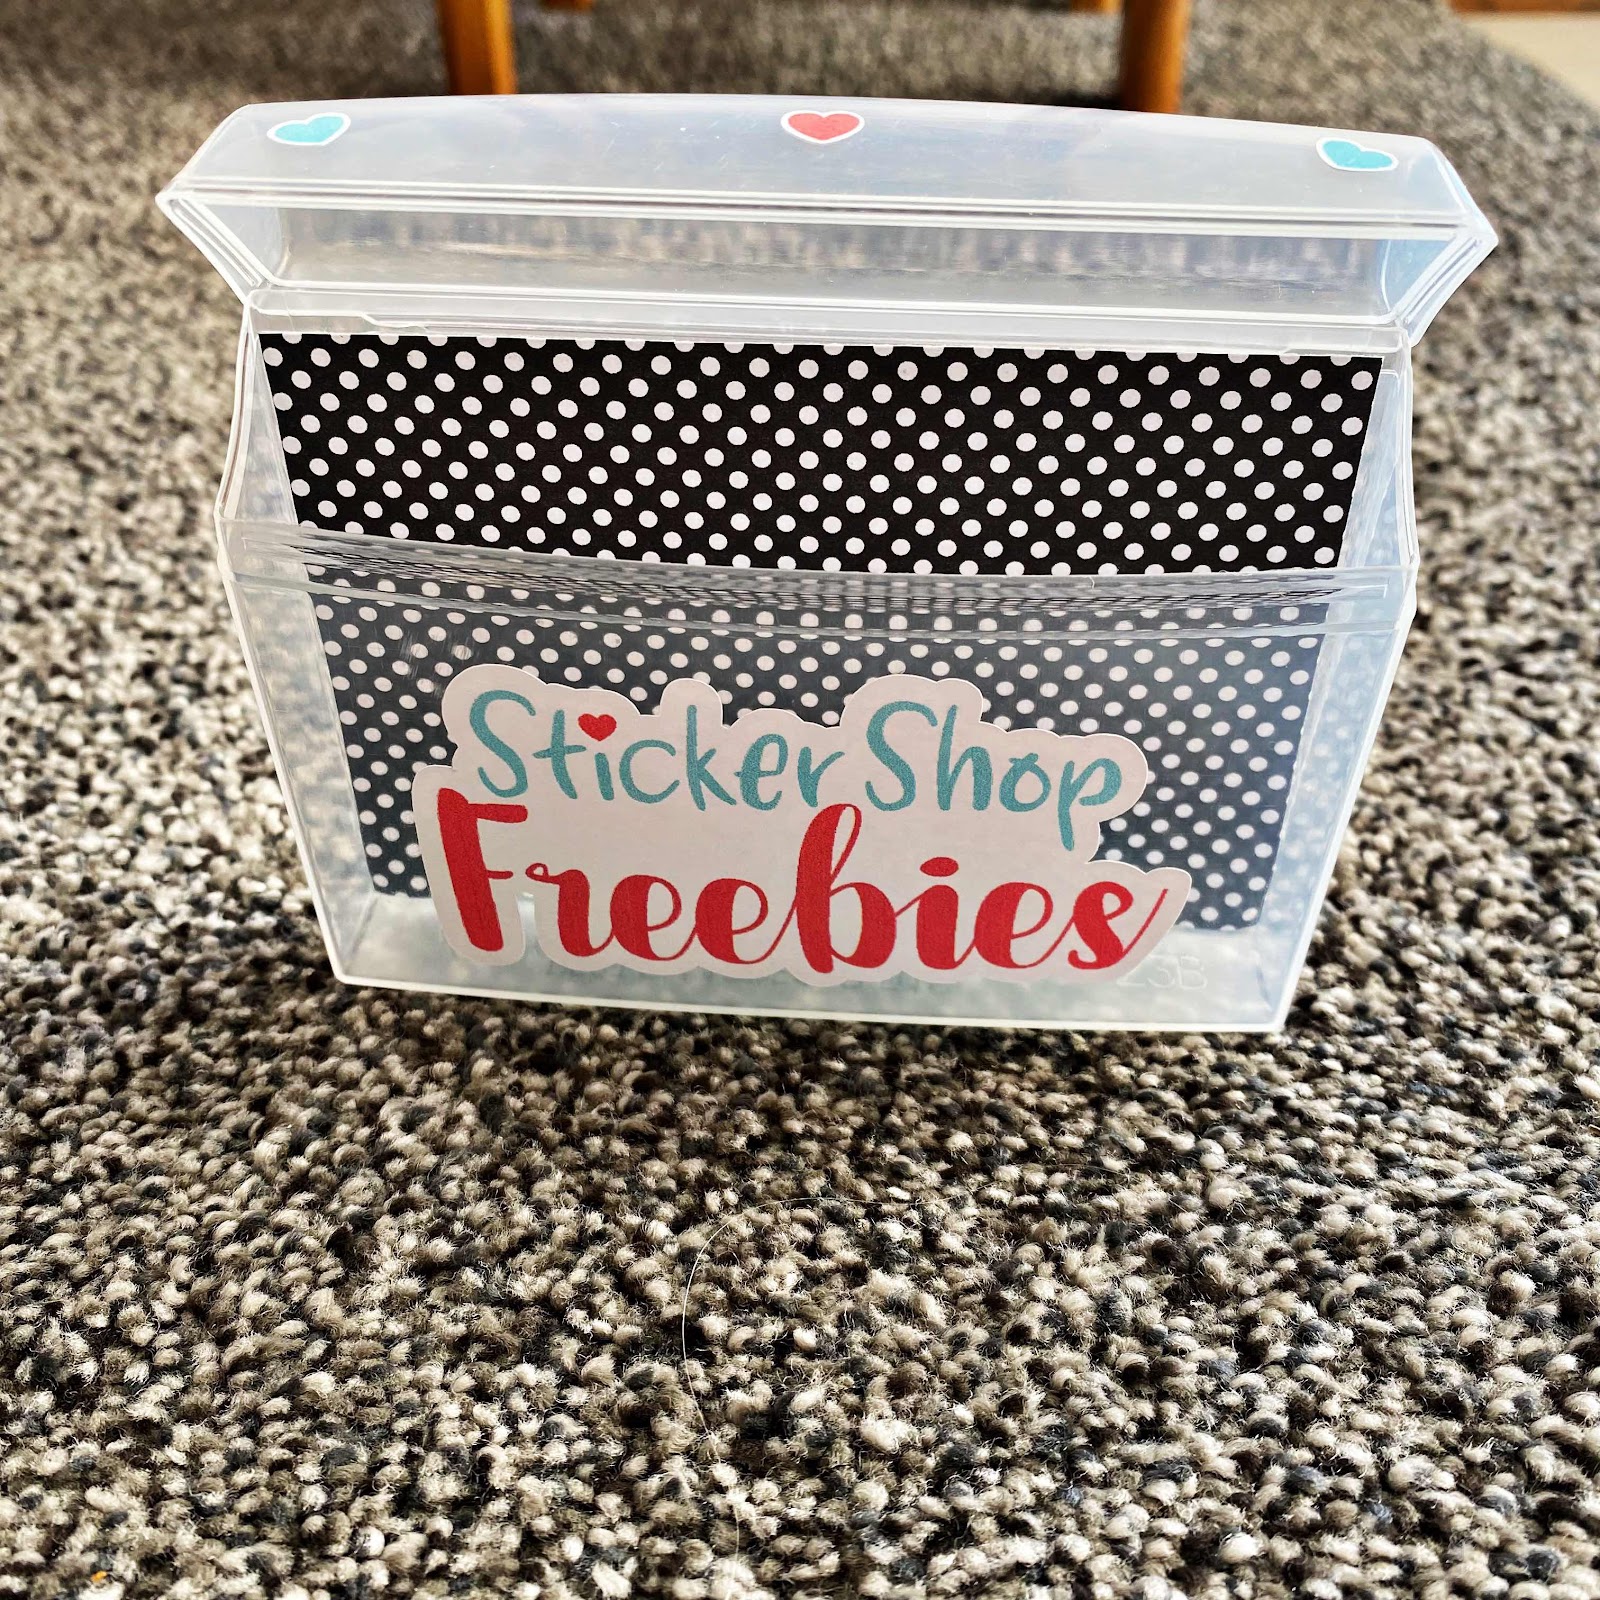
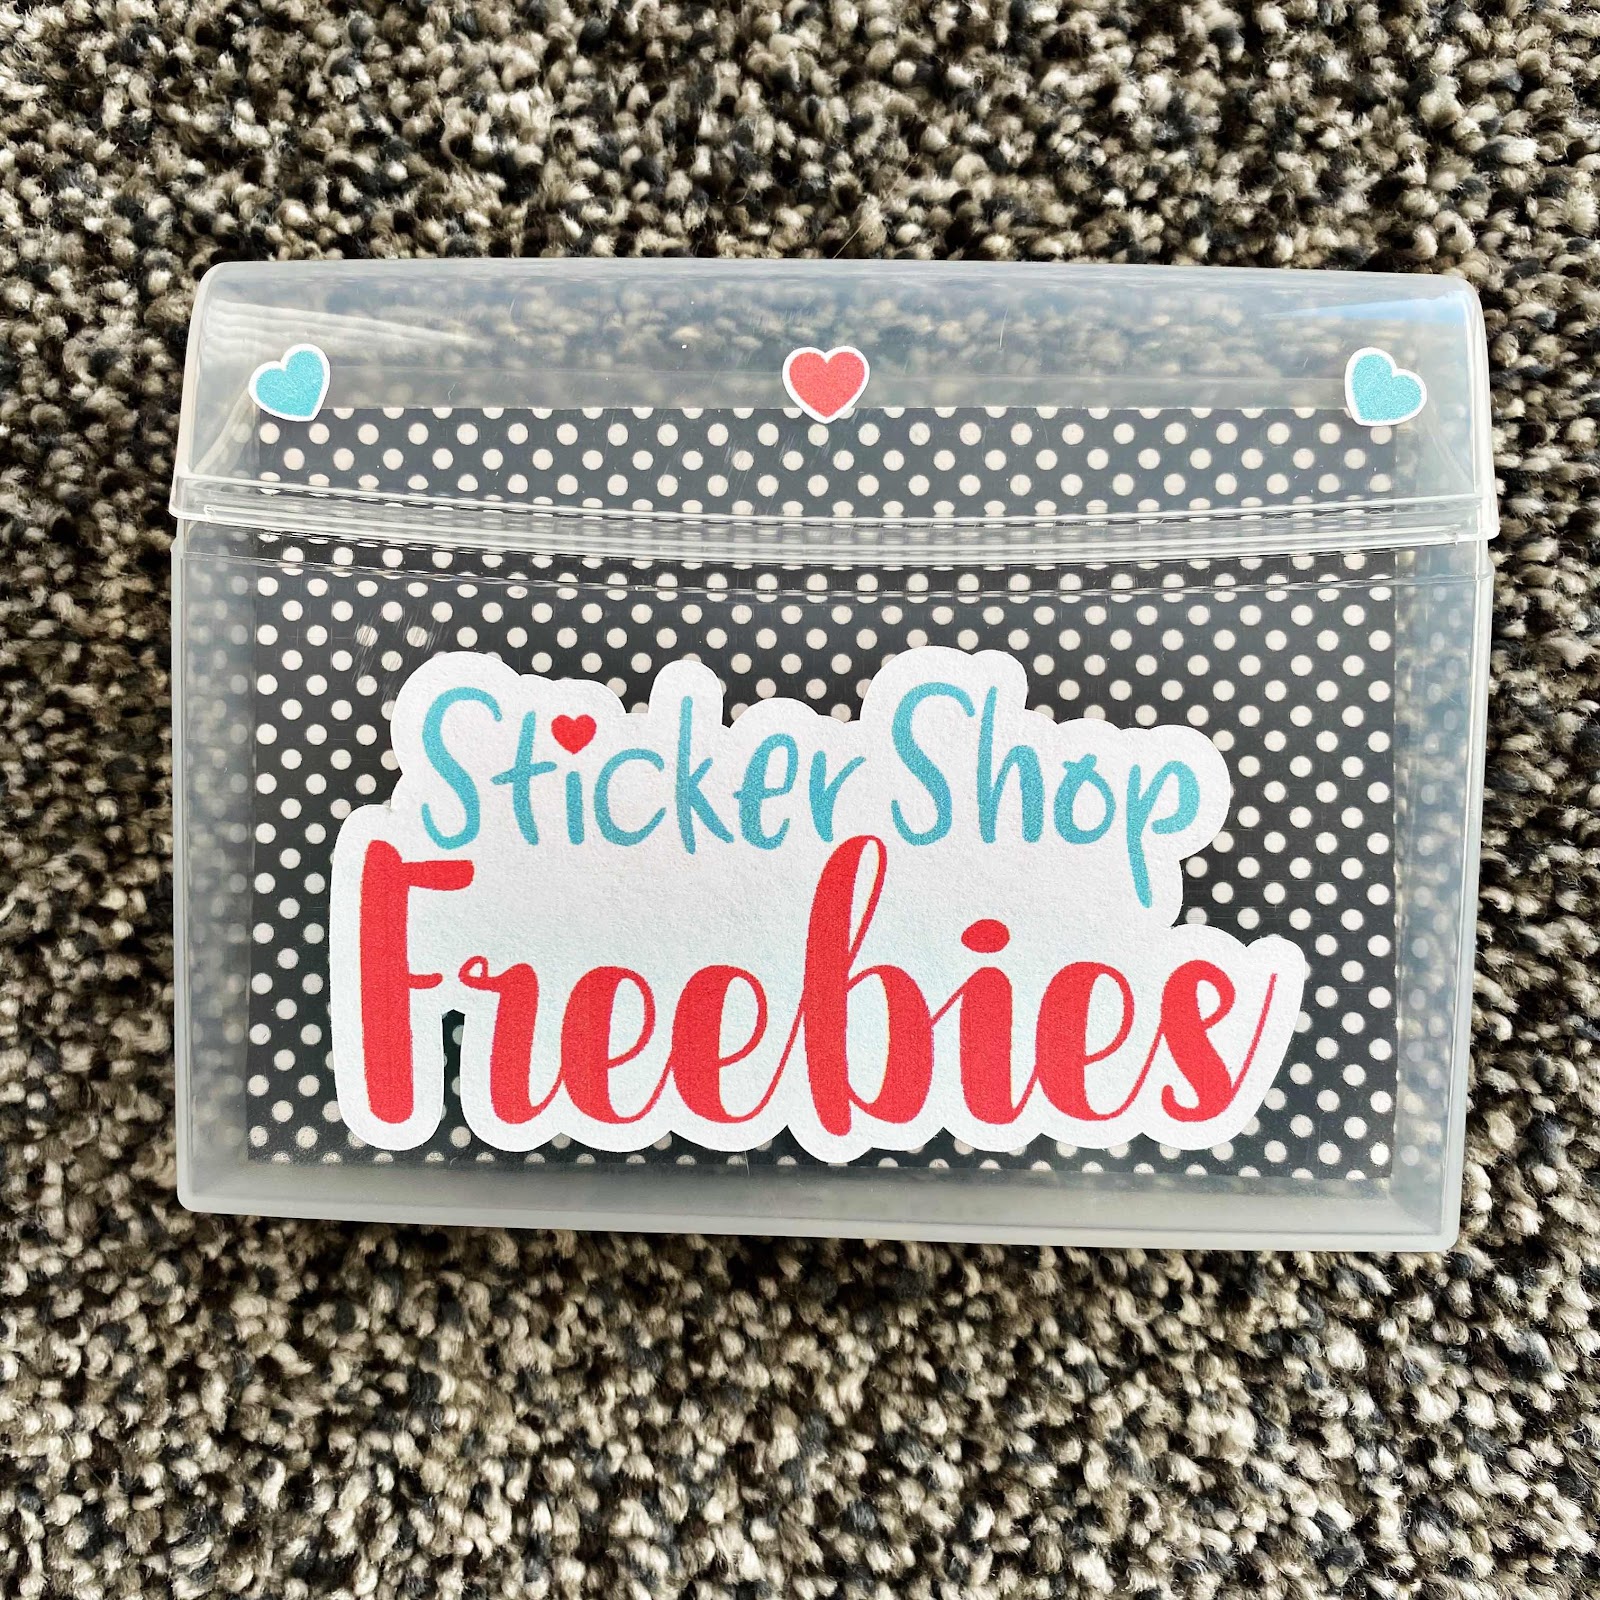
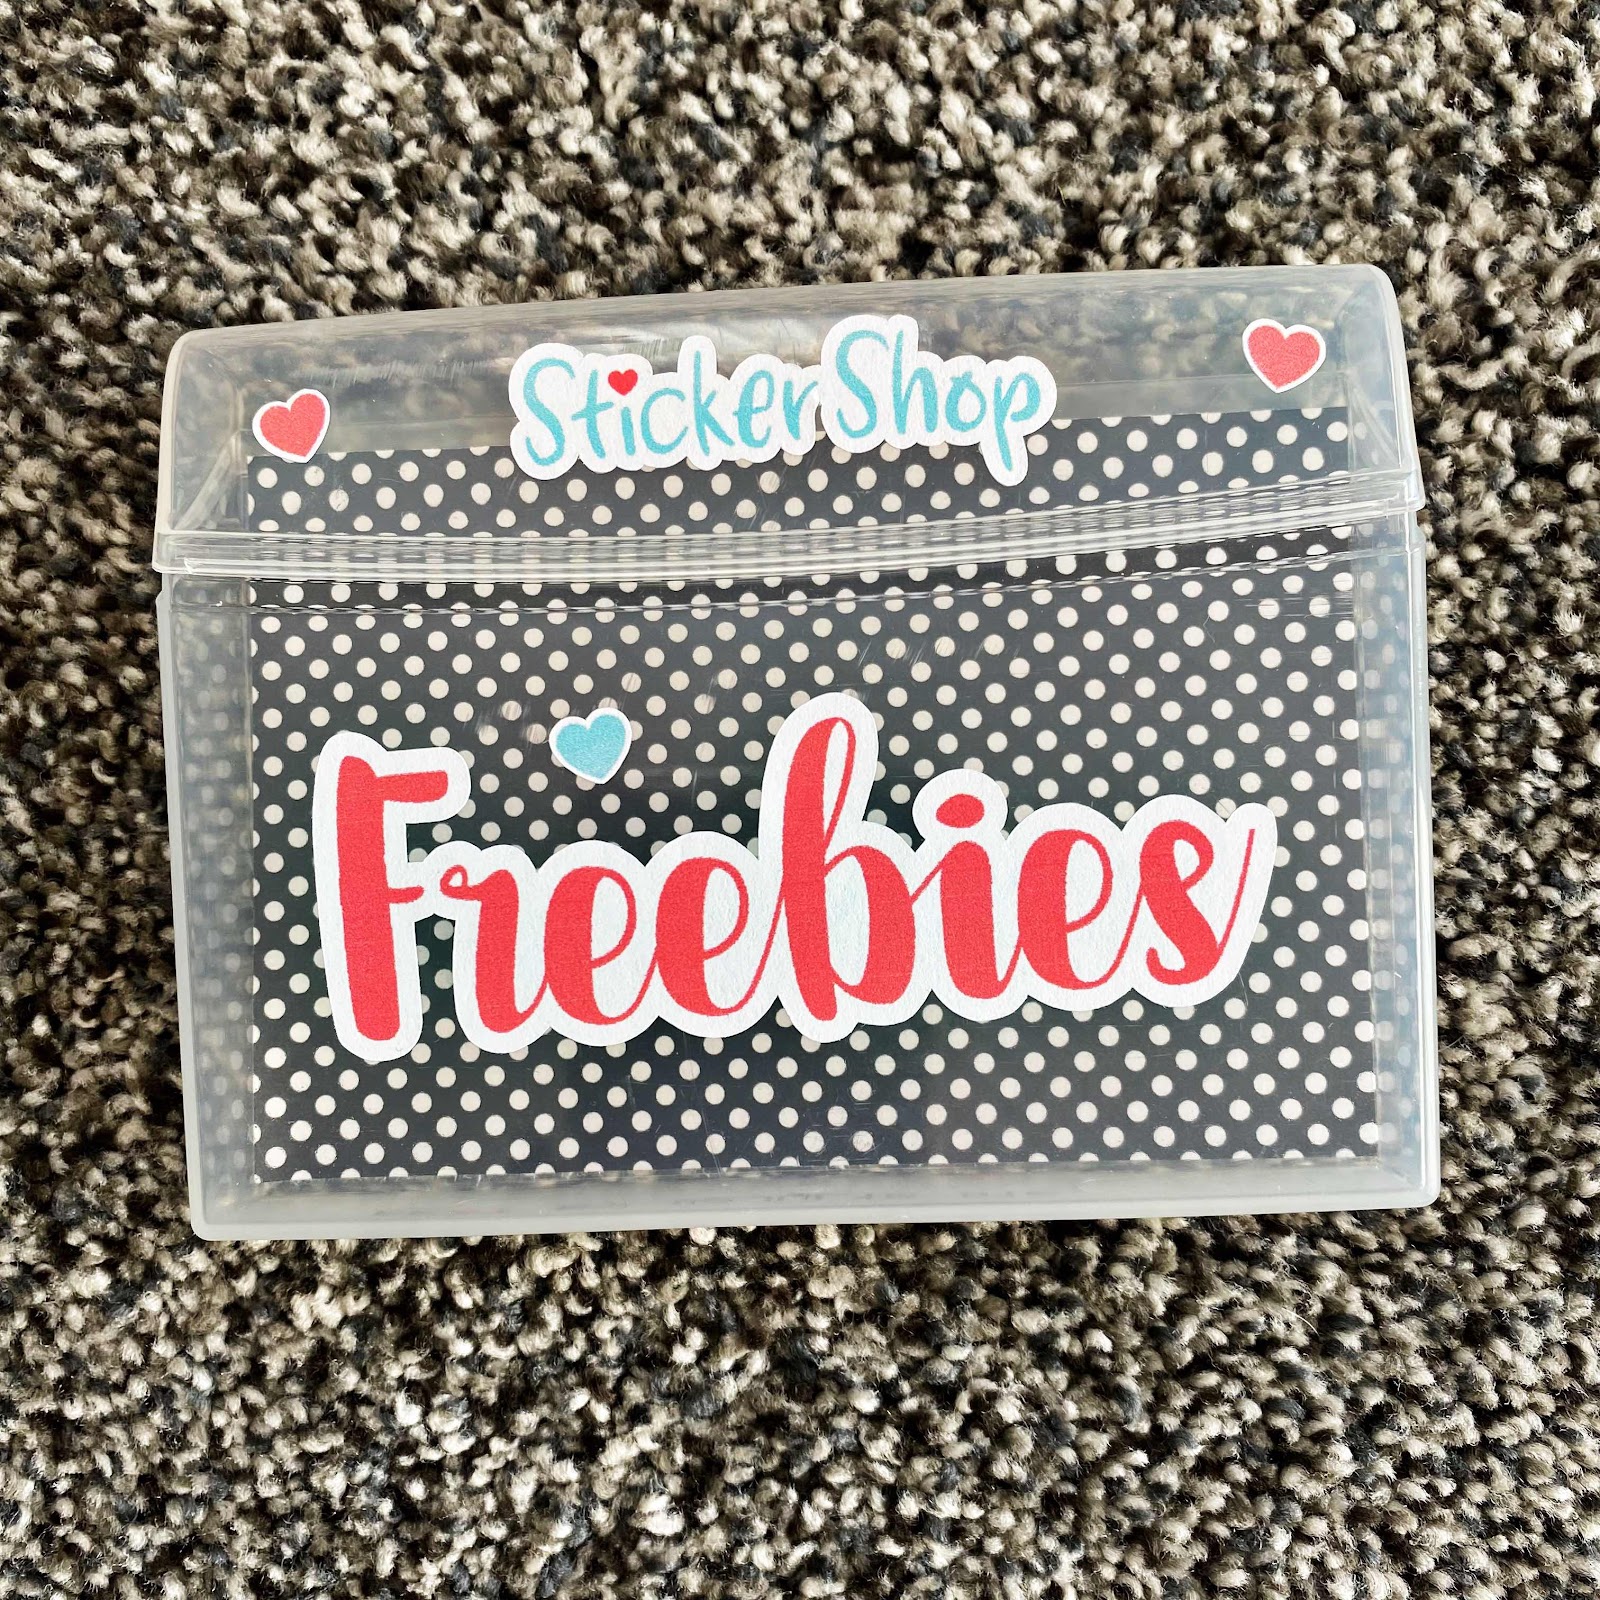
Freebie Sticker Storage
Do you order from sticker shops a lot and have “freebie” sticker sheets that you aren’t sure how to store? These containers are perfect! I have a few of the containers available in my shop, Indiana Inker Plans, as well as the stickers for you to create your own. I added a piece of scrapbook paper to the inside to add a little extra color to them.
Tuesday, September 8, 2020
Mini Ironing Table
I love this mini ironing table we made. I found the idea on Pinterest. It’s super simple, but make sure you measure correctly. 🤣 I wasn’t thinking and just measured the top. 🤦♀️ Of course I didn’t have enough Insul-Bright to cut a 2nd piece, so I had to wait until we went in town the next day. I used some cotton fabric I had on hand. It slides nicely under my sewing cabinet as well. I bought the mini iron off of Amazon since the closest JoAnn didn’t have any in stock.
Thursday, August 8, 2019
Frustrated With Your Silhouette Cameo?
Check out Silhouette School as well. Melissa is awesome! Follow Silhouette groups on Facebook, too, they can be very helpful and you'll see some awesome projects from fellow members.
Keep in mind that every machine is different and your settings will likely differ from the videos you watch. Play around with them until you find what works for you. I think the sticker paper I had made a difference as well. I'm not sure what I had to begin with, but ended up buying Online Labels (the brand all of the YouTubers reccomended) from Amazon and they are perfect. I also bought a new blade, so I'm not sure what the cure was, but I was glad it all finally came together. Be patient and have fun!!
My settings for stickers:
I use a red line for the cutting line around my stickers, so I set it at a speed of 5 if the stickers are detailed, if not, then I set it at 7. I set the force at 7. I set the material on Sticker Paper, White
I use a blue line to cut around a group of stickers - I use a speed of 7, force of 20 and set it on card stock plain. I finally created a "template" for stickers so that I have 4 sheets of stickers to a page. It makes things a lot easier. Once I'm finished creating my sticker, I copy/paste into my template and fill that "sticker sheet" with as many of those as I want. It's a little hard to see, but the red line is the line that you need to stay within (that is set by the Cameo). The blue lines are what the machine will use to cut through the paper to create your "sticker sheet" (I decided on the size of those....I created one, then copy/pasted the other 3 so they were all the same size).
Here is one I created for my work planner. This is what it looks like before you send it to the Cameo). The thick red lines are the cutting lines.
My printer is an Epson XP-310. When you put the sticker paper in the top, make sure the side guard is pushed in completely so that the stickers will print straight. That was another issue I was having. One side would like up perfectly when cutting the stickers, but the other side wouldn't. Through trial and error, I figured it out. I kept thinking it was something within Silhouette.
This is not a sponsored post from any of the companies mentioned.
Tuesday, July 23, 2019
Stampin' Up! Punch Storage
Wednesday, January 9, 2019
Handmade Wooden Flag and Star
My son handmade this flag and star for me. I absolutely love them!!! He had made a natural, unpainted flag and I requested a navy blue and burgundy one. I was surfing on Pinterest and found a star that I liked and asked if he'd make one to match my flag. He delivered them on New Year's day.
This is the neutral one, although it's hard to see the difference in these pictures.
Wednesday, December 19, 2018
Picture Magnets and Metal Letters
I've been making these magnets for awhile for family and friends. It's a great way to display your favorite pictures without taking up a lot of space. I have mine on the side of my refrigerator. My dad had his on his filing cabinet. When he redid his office and got rid of the filing cabinets, he no longer had a place for them. I ended up getting him "DAD" metal letters to put them on. It worked out great. I have a "K" in my office with pictures of my kids and grandkids. I have a few metal letters with magnets that I'm giving as gifts this year.
I bought the metal letters at Hobby Lobby. I did a photo grid in the Photo Grid app, had them printed at Walgreens, laminated them, cut them apart with my paper cutter, then added 3/4" strong button magnets from Hobby Lobby to the back with E6000 adhesive.
Monday, July 3, 2017
Lady Bug Bottle Cap Magnets
This is a quick and easy project to do and fun. How cute are these?? Of course I found the idea on Pinterest.

Supplies:
Bottle Caps
3/4" (2mm x 19mm) cork circles
3/4" round strong magnets
E6000 adhesive
Red spray paint (I used Krylon Short Cuts) for the body
Black Permanent Marker
Moveable eyes (I'm not sure what size these are. I have a bag of miscellaneous eyes)
Friday, June 16, 2017
Picture Magnet Fun
This was a fun little project. I used the Photo Grid app to create collage photos and had them printed at my local Walgreens. I laminated them, cut them apart and glued 3/4" thick magnets to the back. I did several for myself and a few family members. You can do this with a variety of ideas. I did fun ones, family pictures and recipes. They would make nice stocking stuffers, teacher gifts or just because surprises.
I used the Bitmoji app to create these images. I used a square scollop punch to punch the background from heavy card stock.
Monday, August 3, 2015
Softball Hair Bows
I helped my daughter make hair bows for my youngest granddaughter's All Star Softball Team. We took ideas from a few different pins on Pinterest and added a few touches of our own. They were really simple to make.
Each ribbon is 12" long. The ribbon around the center is 6" and tied in a knot in the back. The hair clip is slid underneath the knot. I used pinking shears on the ends of the ribbons.
We didn't get a picture, but we also punched their numbers out of card stock and she put them on the white ribbon on each end with Modge Podge.
Each ribbon is 12" long. The ribbon around the center is 6" and tied in a knot in the back. The hair clip is slid underneath the knot. I used pinking shears on the ends of the ribbons.
We didn't get a picture, but we also punched their numbers out of card stock and she put them on the white ribbon on each end with Modge Podge.
Saturday, December 27, 2014
Halloween Treat Bags
I know this post is a bit late. :) I'm planning to be a bit more crafty in 2015 and keep up with this site a little.
I made these for the ladies that I work with. They were quick, fun and simple. I just wrapped a mini bag of microwave popcorn with orange card stock and cut a black piece slightly smaller and attached to the front. For the ghosts, I used the Stampin' Up! owl punch.
Sunday, September 28, 2014
Pennies From Heaven Jars
Not long after my mom passed away in 2001, I'd seen this poem:
I'd always picked the coins up, but never kept them until this summer. On August 28th, one of my closest friends lost her son in a motorcycle accident. I'd been thinking about making these jars, but hadn't done it until he passed. I ended up making around 10 of them.
He was only 24 years old and had been one of my youngest daughter's closest friends in school. He was a very popular young man and left an amazing legacy. He and his wife had celebrated their 3rd anniversary the day before he passed. The day after he passed, she found out she was pregnant with their first child. A couple of weeks later, she found out that it's twins!!
“Pennies from Heaven"
I
found a penny today
Just lying on the ground.
But it's not just a penny
This little coin I've found.
Just lying on the ground.
But it's not just a penny
This little coin I've found.
Found
pennies come from heaven
that's what my Grandpa told me.
He said Angels tossed them down
Oh, how I loved that story!
He said when an Angel misses you
They toss a penny down,
sometimes just to cheer you up
To make a smile out of your frown.
So don't pass by that penny
When you're feeling blue.
It may be a penny from heaven
That an Angel's tossed to you.
that's what my Grandpa told me.
He said Angels tossed them down
Oh, how I loved that story!
He said when an Angel misses you
They toss a penny down,
sometimes just to cheer you up
To make a smile out of your frown.
So don't pass by that penny
When you're feeling blue.
It may be a penny from heaven
That an Angel's tossed to you.
Author: Copyright © 1998 C Mashburn
I'd always picked the coins up, but never kept them until this summer. On August 28th, one of my closest friends lost her son in a motorcycle accident. I'd been thinking about making these jars, but hadn't done it until he passed. I ended up making around 10 of them.
He was only 24 years old and had been one of my youngest daughter's closest friends in school. He was a very popular young man and left an amazing legacy. He and his wife had celebrated their 3rd anniversary the day before he passed. The day after he passed, she found out she was pregnant with their first child. A couple of weeks later, she found out that it's twins!!
The jars have coin slots in the lids large enough for quarters
I only made one of the vases, as I didn't care for it as much, although it was a bit easier.
Poem and jar labels were printed on the computer and adhered to patterned paper and card stock
Saturday, October 29, 2011
Halloween Treat Bag from Paper Napkin
I had gotten out all of the candy last evening that I had gotten over the past few weeks to get it ready for treat bags. We live in an area where we don't get trick-or-treaters, but I make up bags for our neighbor's grandkids, another neighbor's twins, and our 2 grandaughters. I also still give bags of candy to our grown kids and their significant others as well as my hubby. :) I hadn't bought treat bags for our granddaughters yet and was trying to decide if I wanted to make them or pick something up the next time I was out. The napkins were sitting there in the napkin holder, so I thought I'd see what I could come up with. So, here it is:
Materials Needed:
3 Paper Napkins
Scotch Tape
Thread
Scissors
3 Paper Napkins
Scotch Tape
Thread
Scissors
Filled with goodies....waiting on Halloween night. :)
I used 3 napkins
I cut 2 sides off for handles
I taped the handles about 1/4" on each side of the center
I stitched across the top of each side to secure the handles
I put the napkins, printed sides together and stitched from one side of the top around to the other side.
I boxed the corners and stitched 1" from the point
I trimmed off the point on each side, then carefully turned it right side out.
You could do this for any occasion.
Subscribe to:
Posts (Atom)