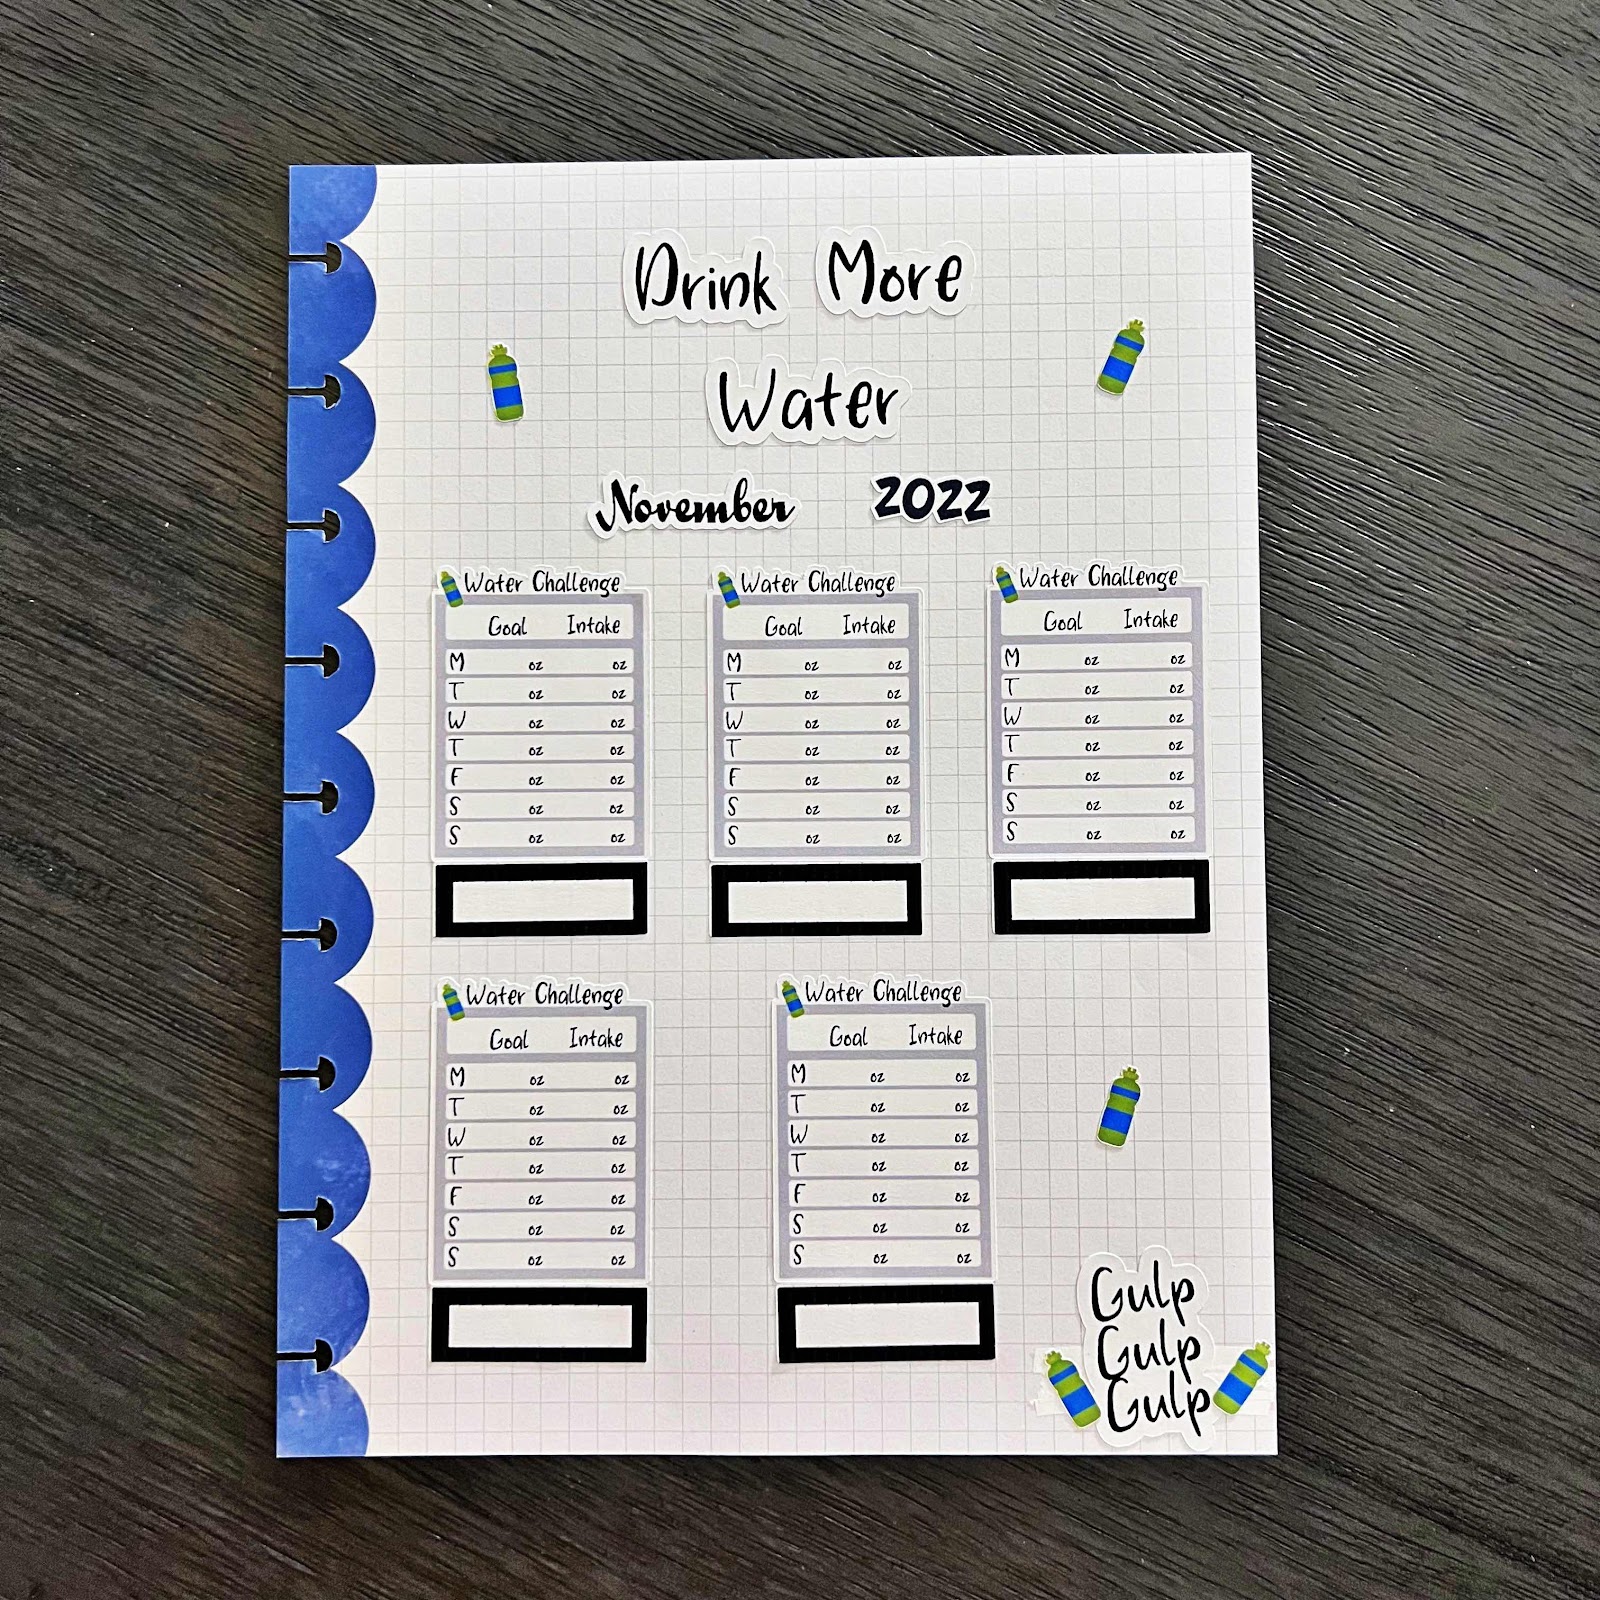
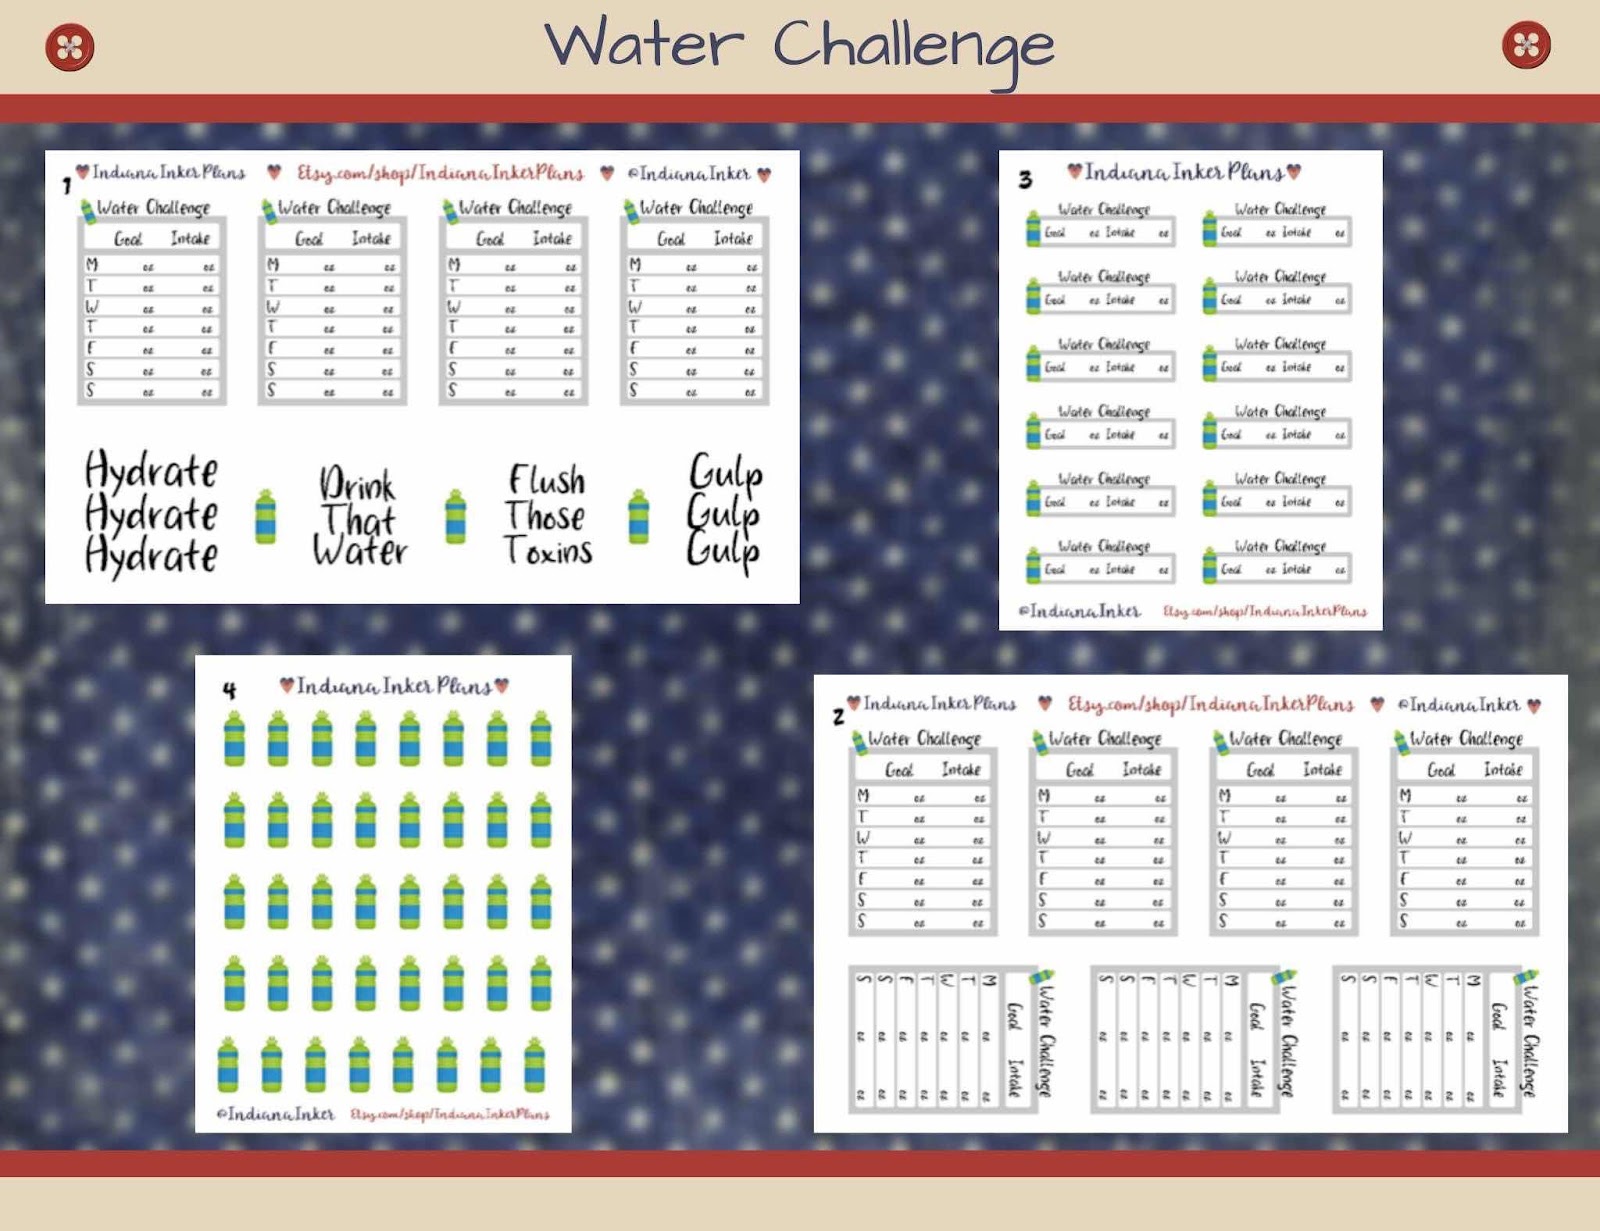
I definitely need to drink more water, so I created some stickers to add to my shop, Indiana Inker Plans. From those, I created a water tracker to hopefully help me with that. The boxes underneath I will add the dates for the week. This tracker was created on Happy Planner classic sized filler paper. Are you one of the many that also needs to drink more water?
Tuesday, November 8, 2022

Monday, November 7, 2022
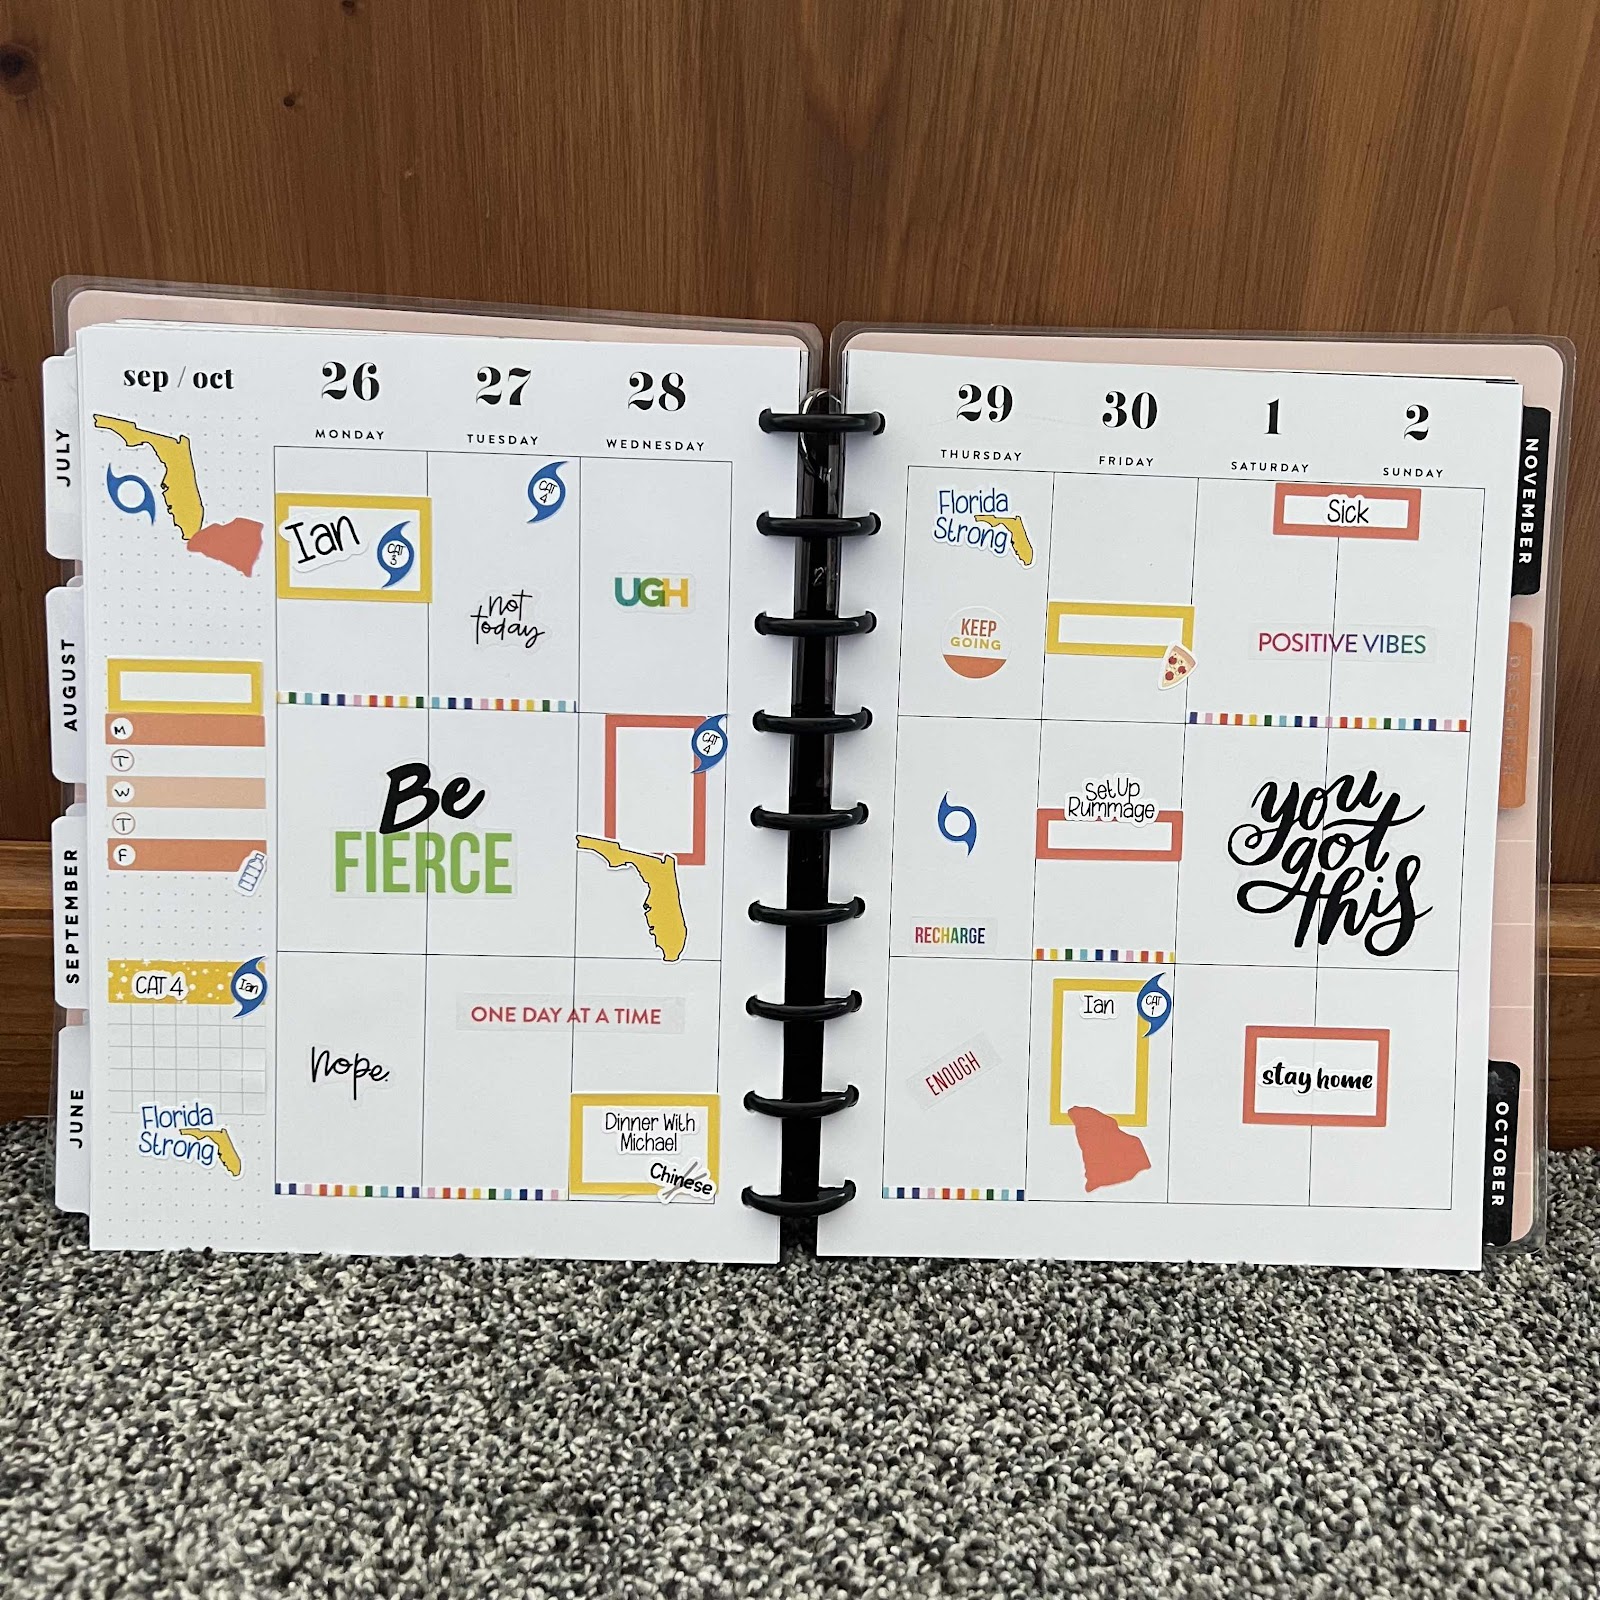
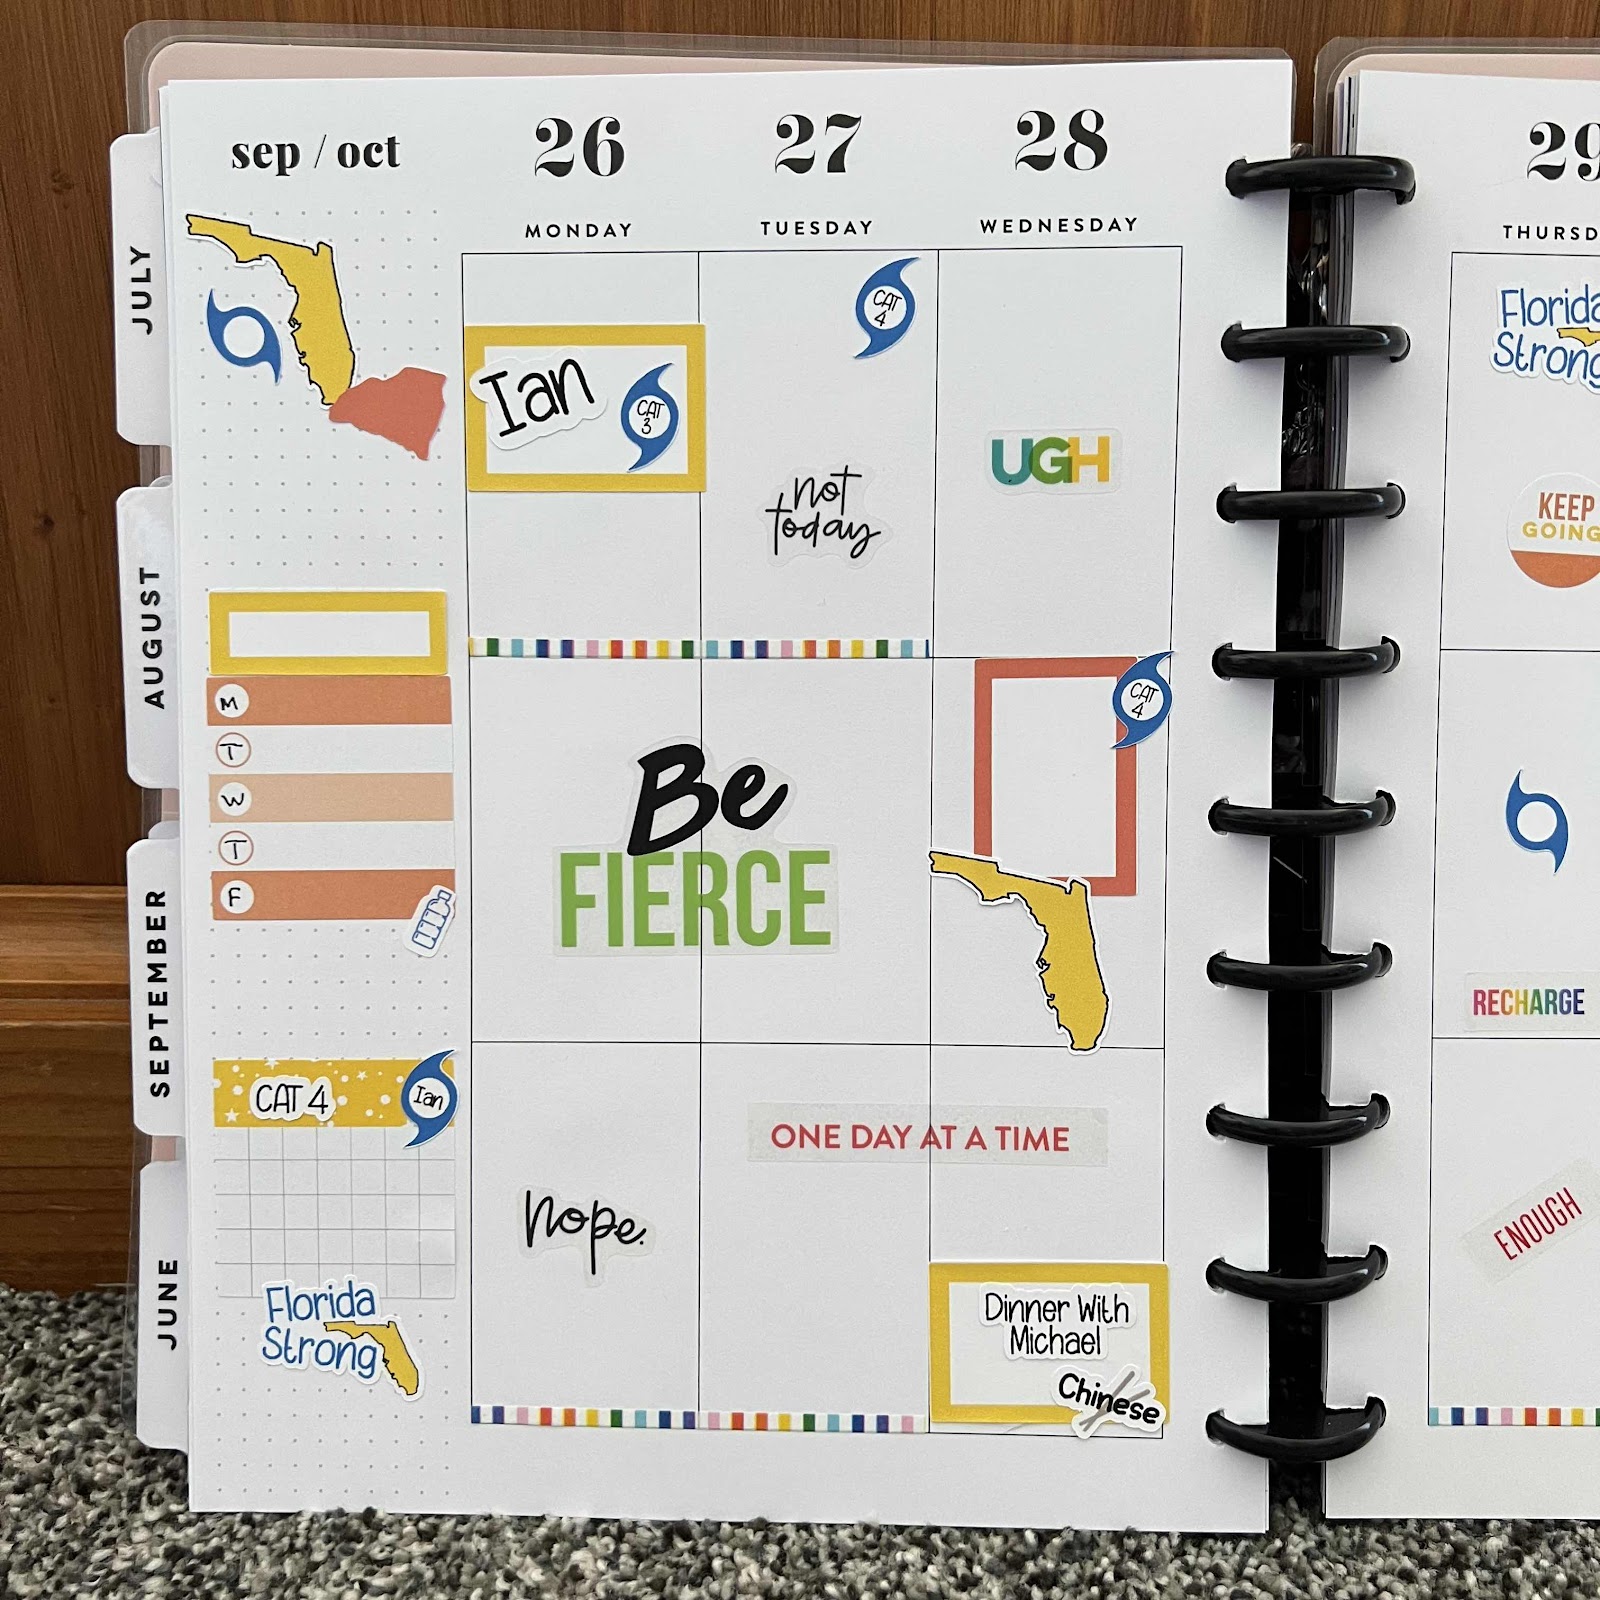
Hurricane Ian Weekly Planner Spread
With Hurricane Ian being this week, I decided to use the stickers from my shop, Indiana Inker Plans, in this week's spread. As sad as this event was, I’m happy with how the layout turned out. These stickers are part of a fundraiser I am doing through 12/31/22 to benefit the victims of this nasty storm. $1.00 from each sheet sold will be donated to a Hurricane Ian relief organization.
This layout is in my classic Happy Planner vertical layout. I use this planner as a memory planner.
Search "Colorful Boxes" in my shop for all of the current options available.


Sunday, November 6, 2022
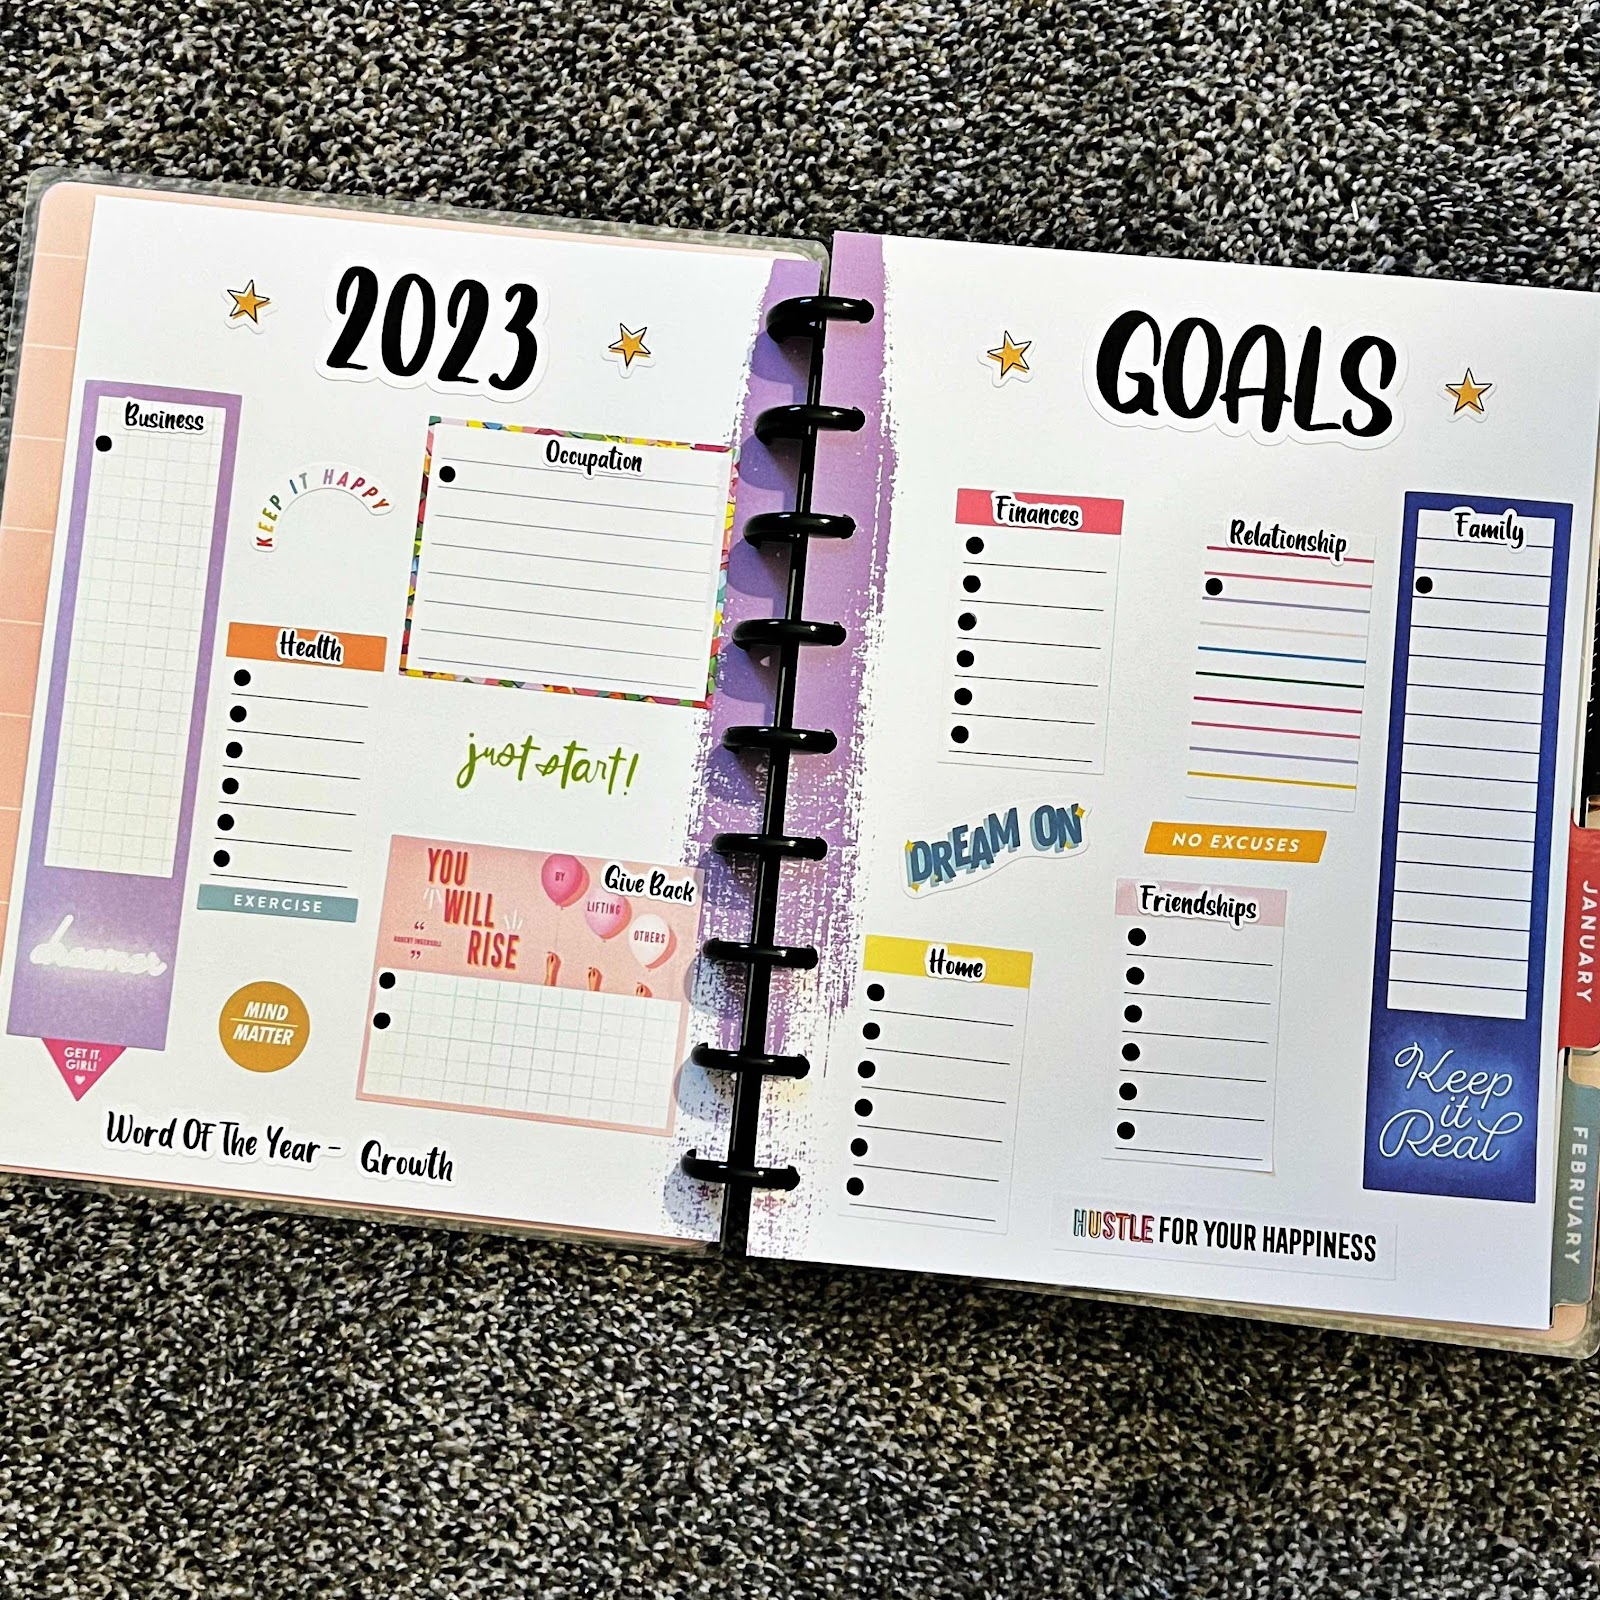
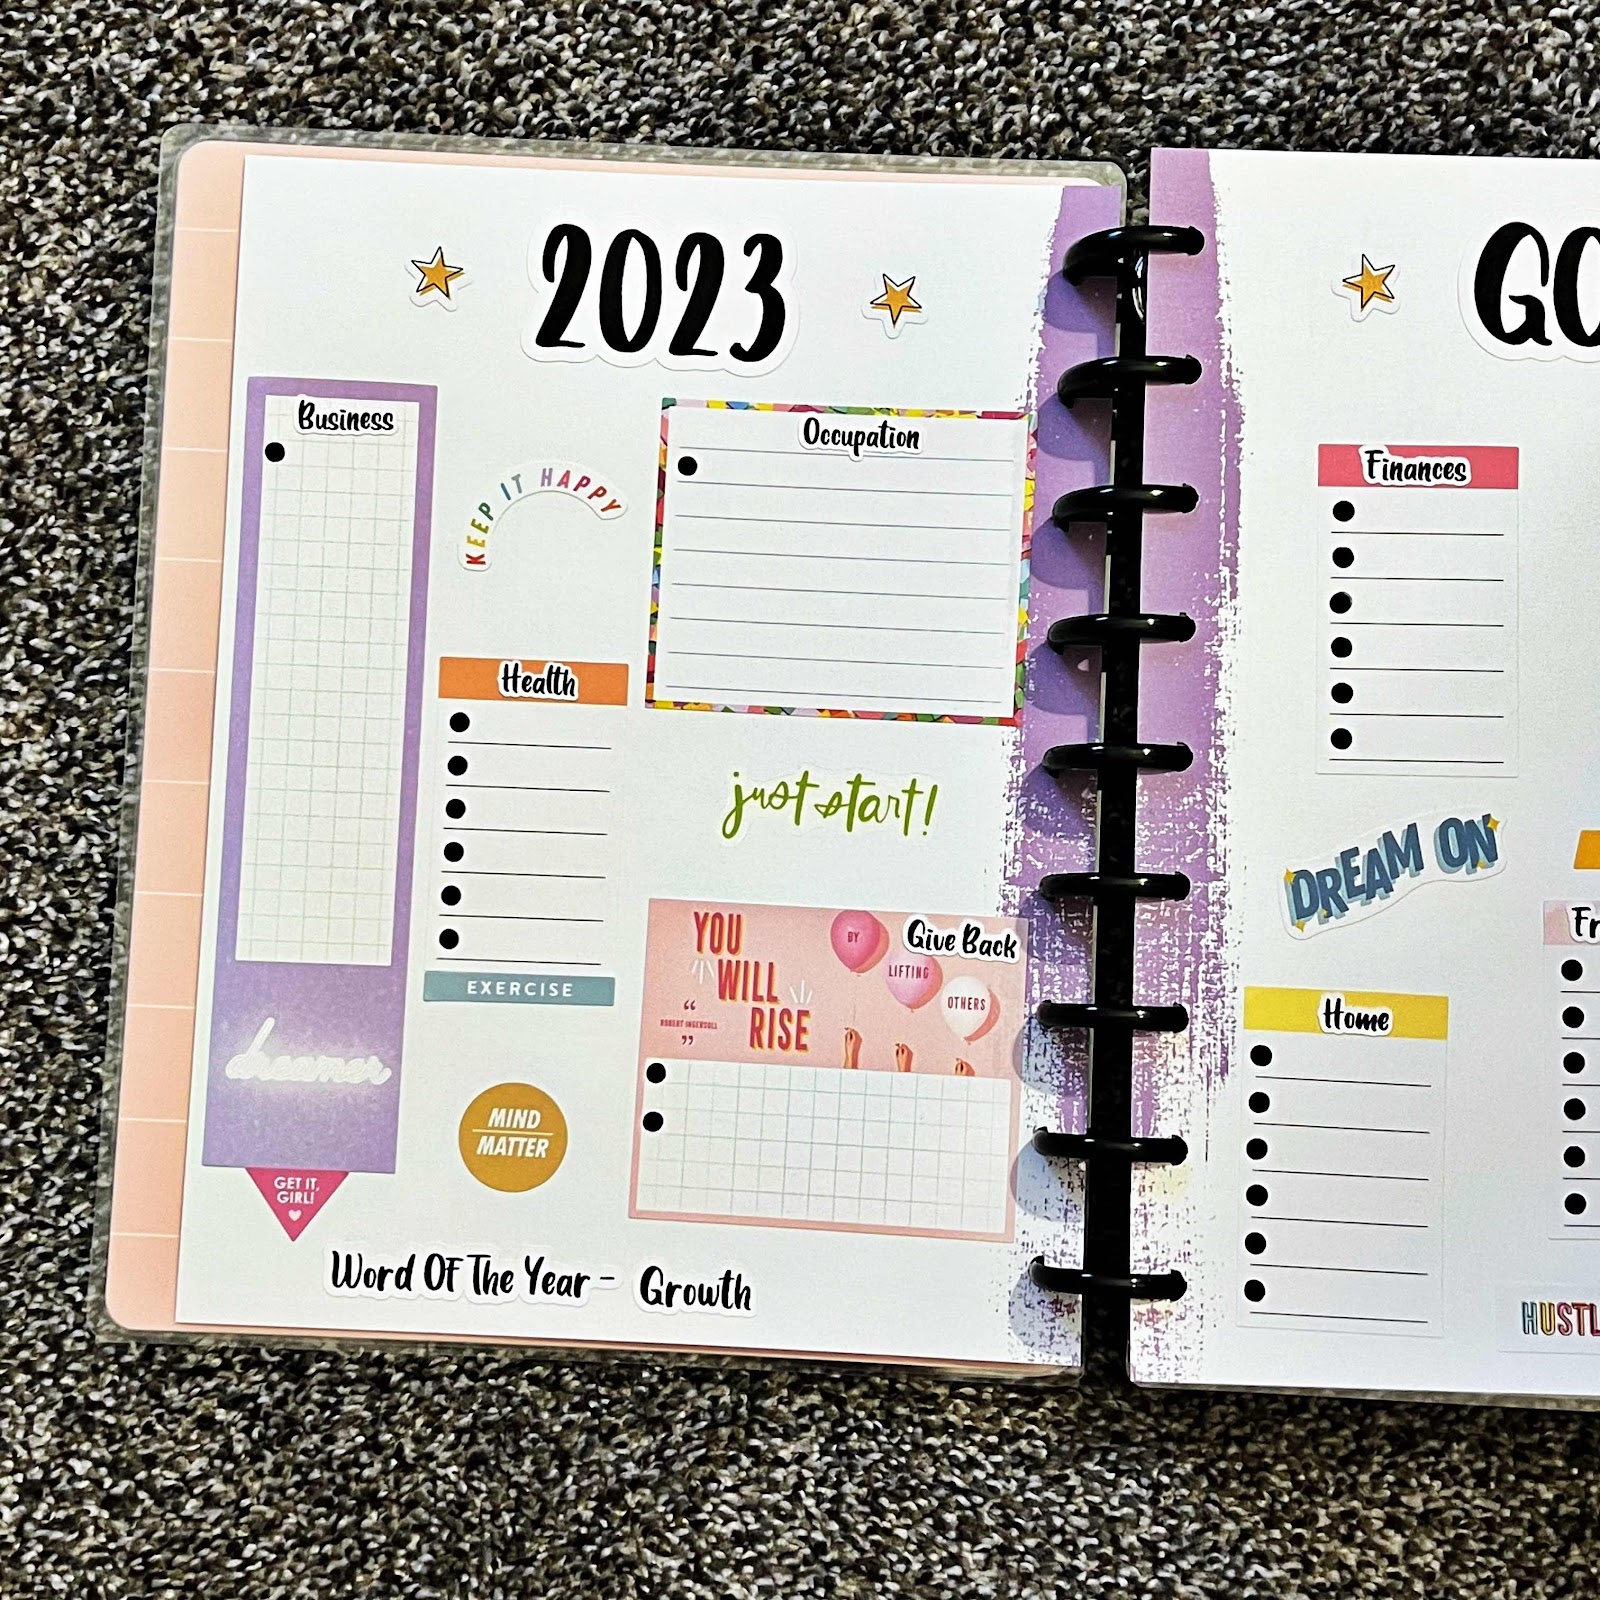
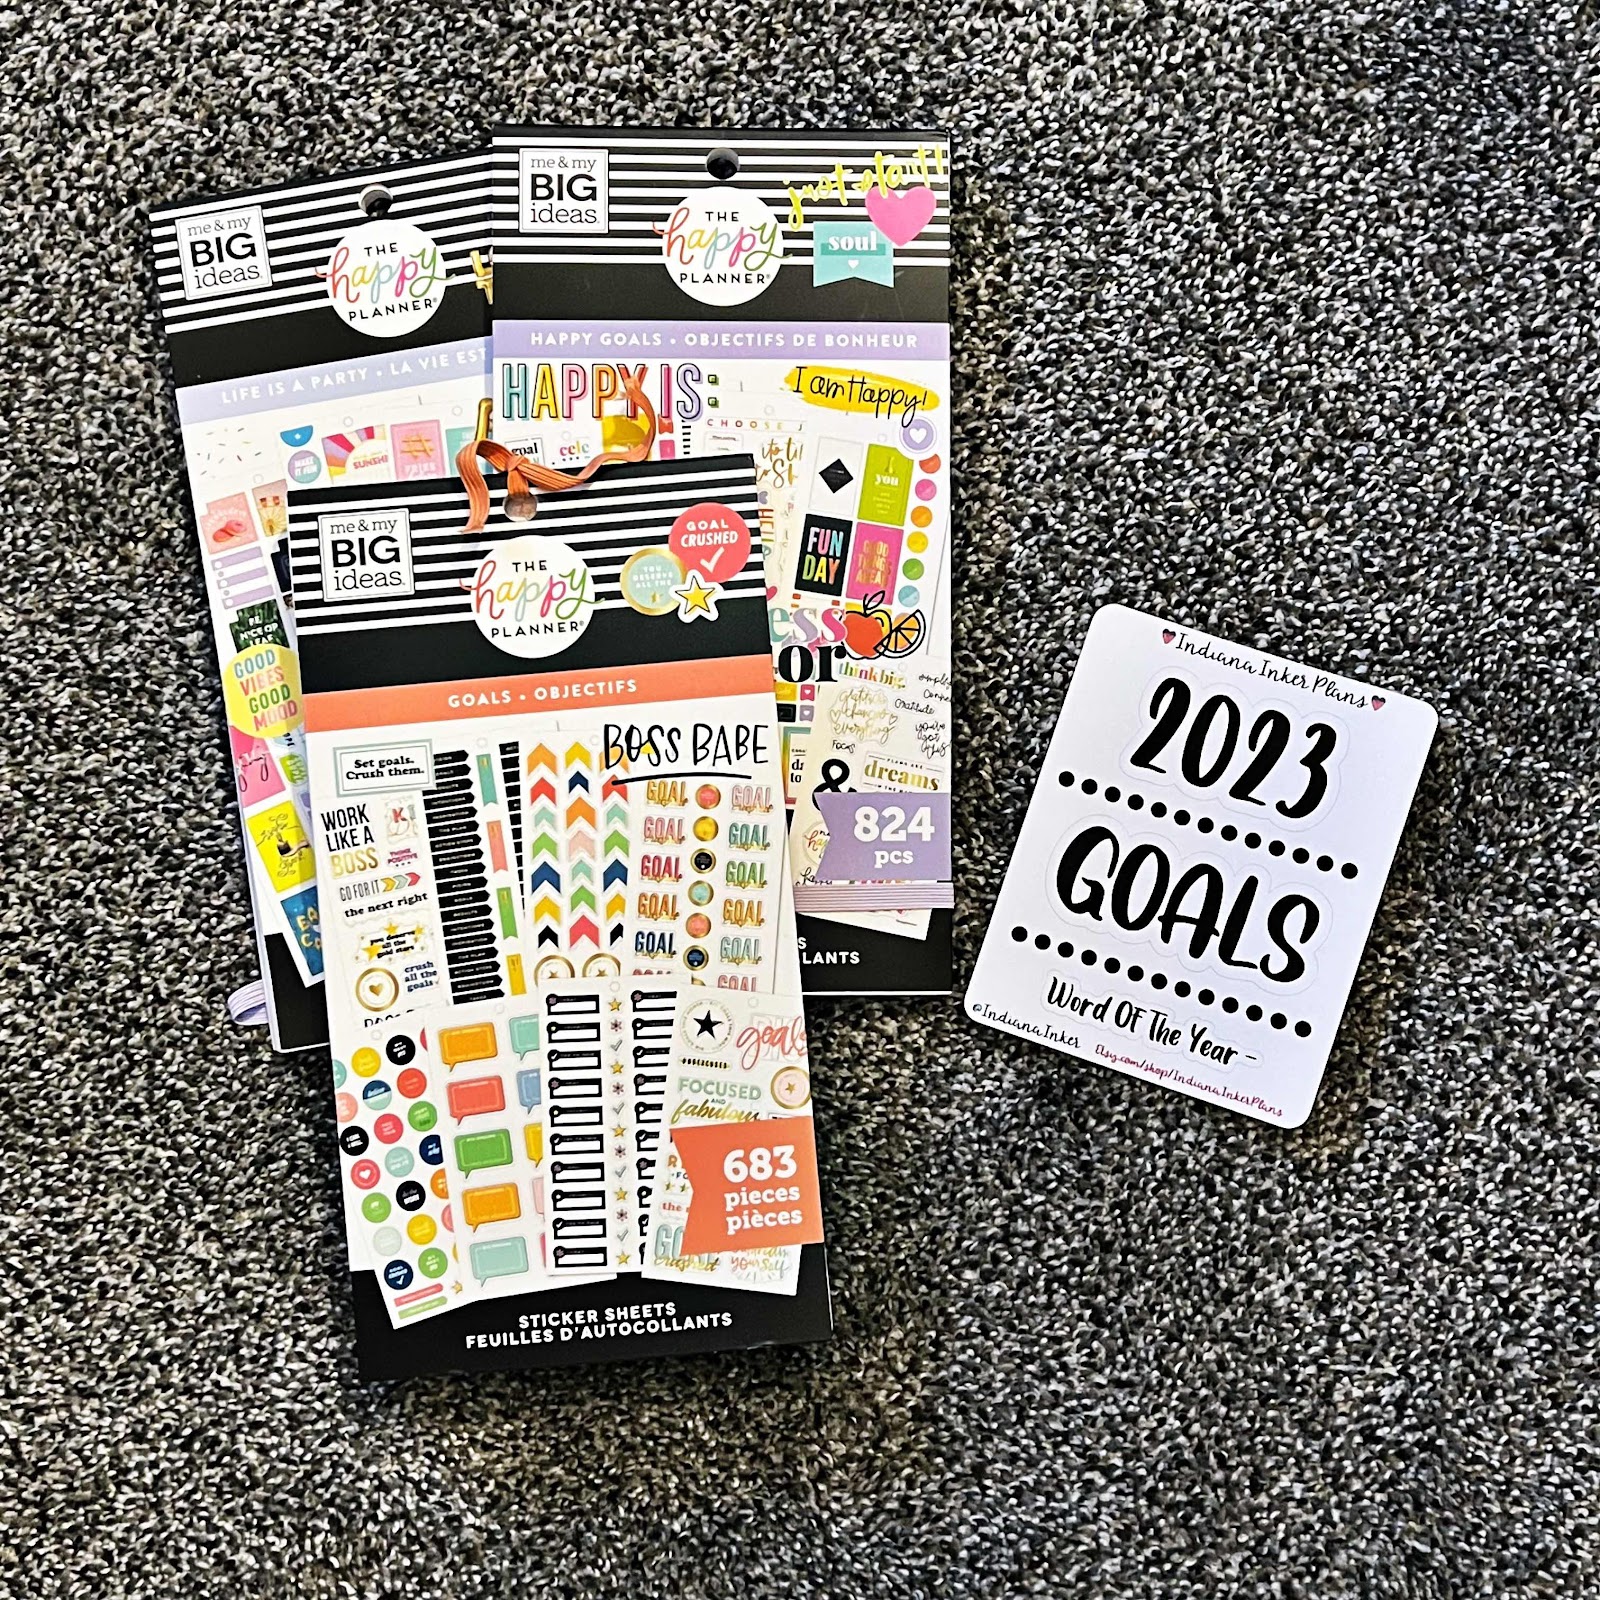
2023 Goals - Decorative Planning
After watching Plan With Illyse’s video on setting up her goals for 2023, I knew I wanted to do mine. I’m not good at creating headers for my single or extra pages for my planner, so I created a sticker sheet that is currently available in my shop, Indiana Inker Plans. I have added this to the front of my 2023 Happy Planner.

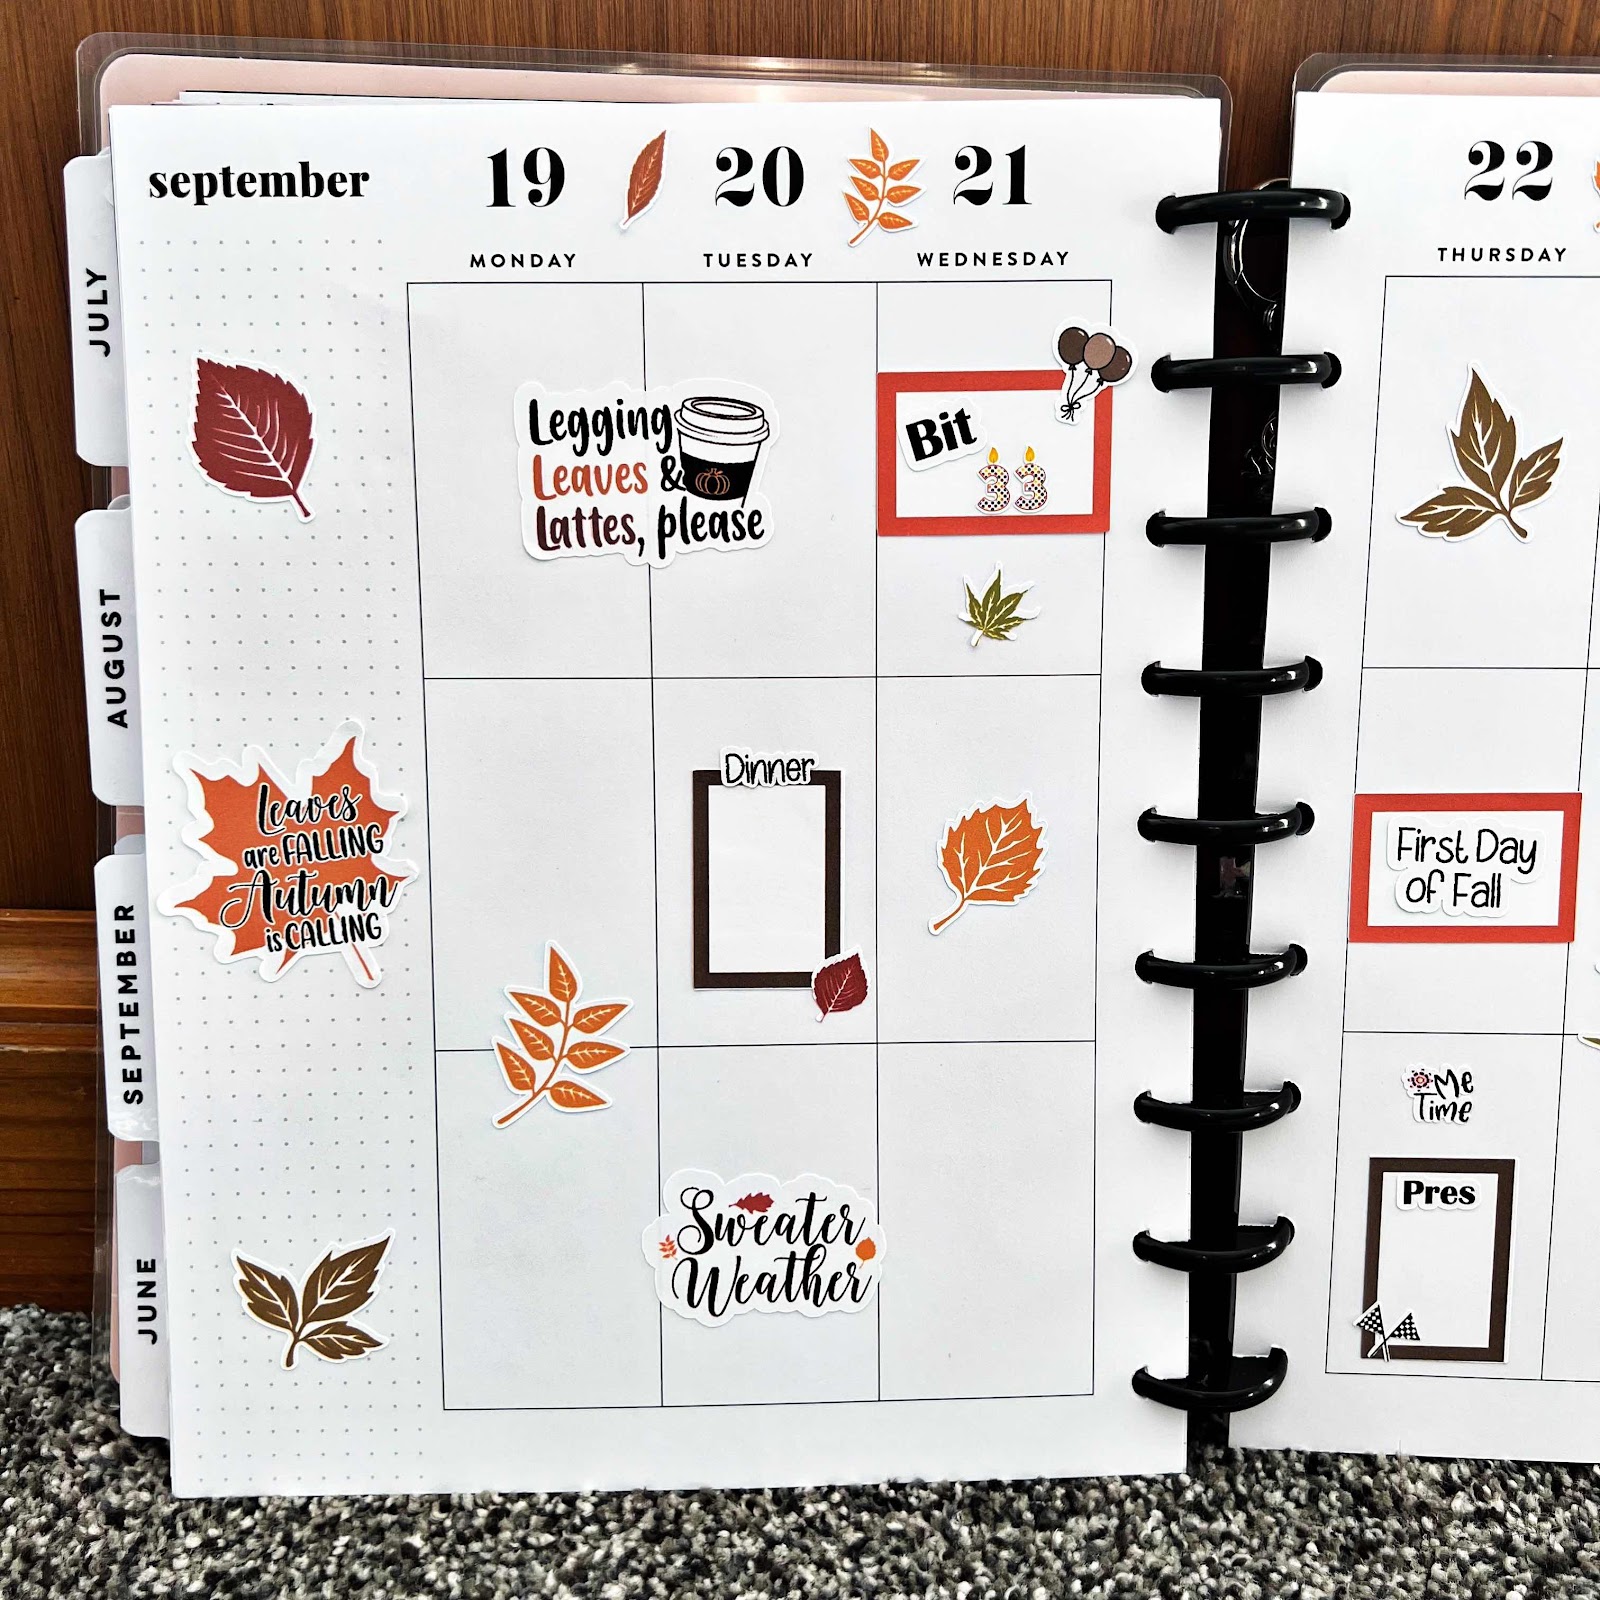
Fall Weekly Planner Spread
With the first week of Fall being this week, I decided to do a Fall spread in my classic Happy Planner. My youngest daughter’s birthday is this week as well, so sometimes I’ll do a birthday theme or a theme of something that is special to her. These leaves stickers are from my shop, Indiana Inker Plans.
I use this planner as a memory planner and fall behind in planning once in a while. My goal is start posting on my blog more regularly.


Saturday, November 5, 2022
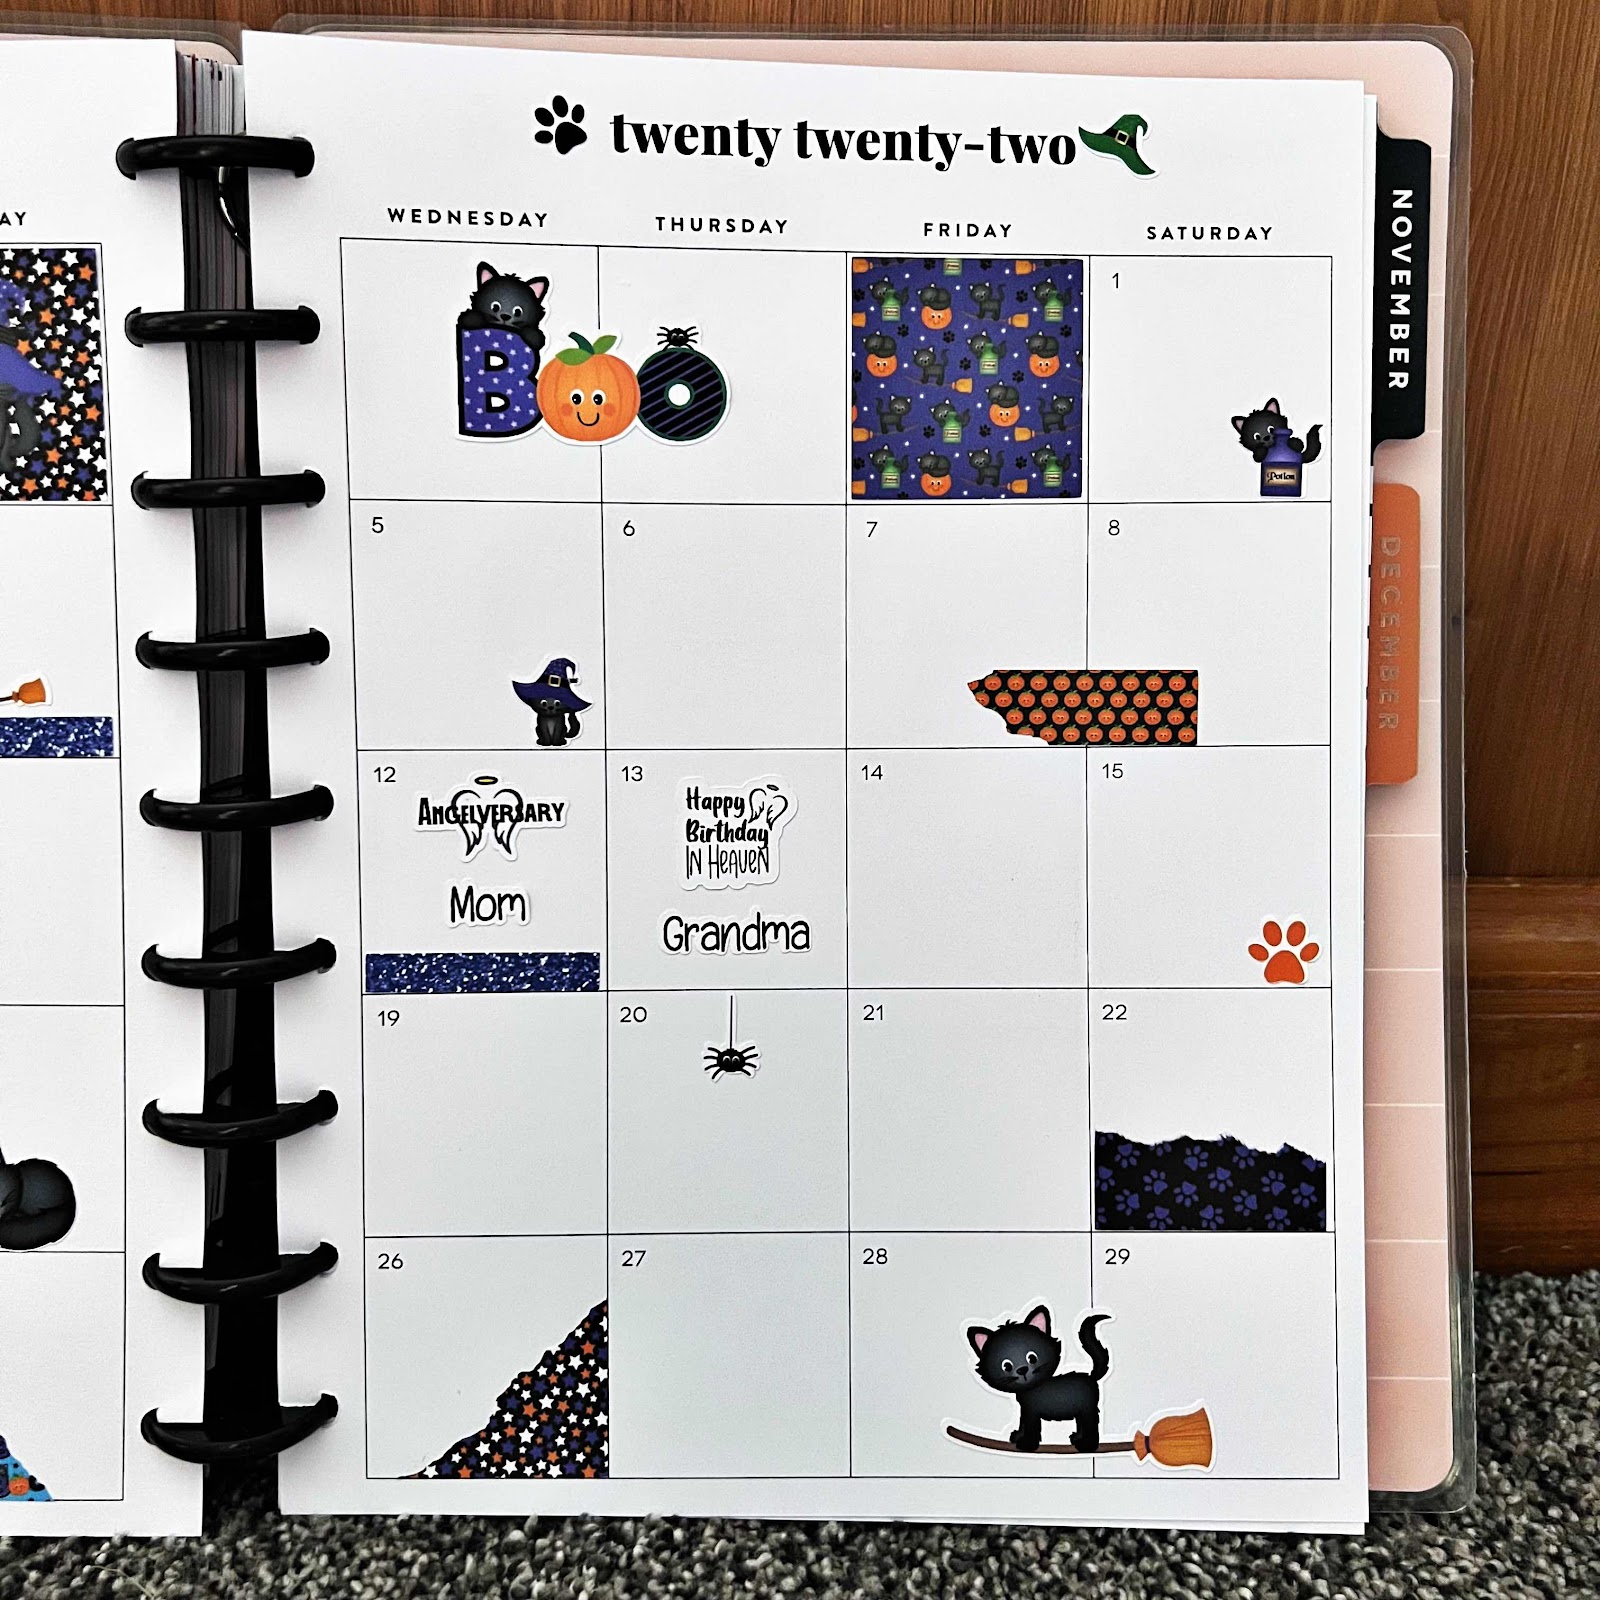
October Monthly Spread
Well since it’s October, that calls for a cute Halloween spread, of course. These stickers are from my shop, Indiana Inker Plans. How cute are these black cats? This spread is in my classic Happy Planner that I use for memory planner.


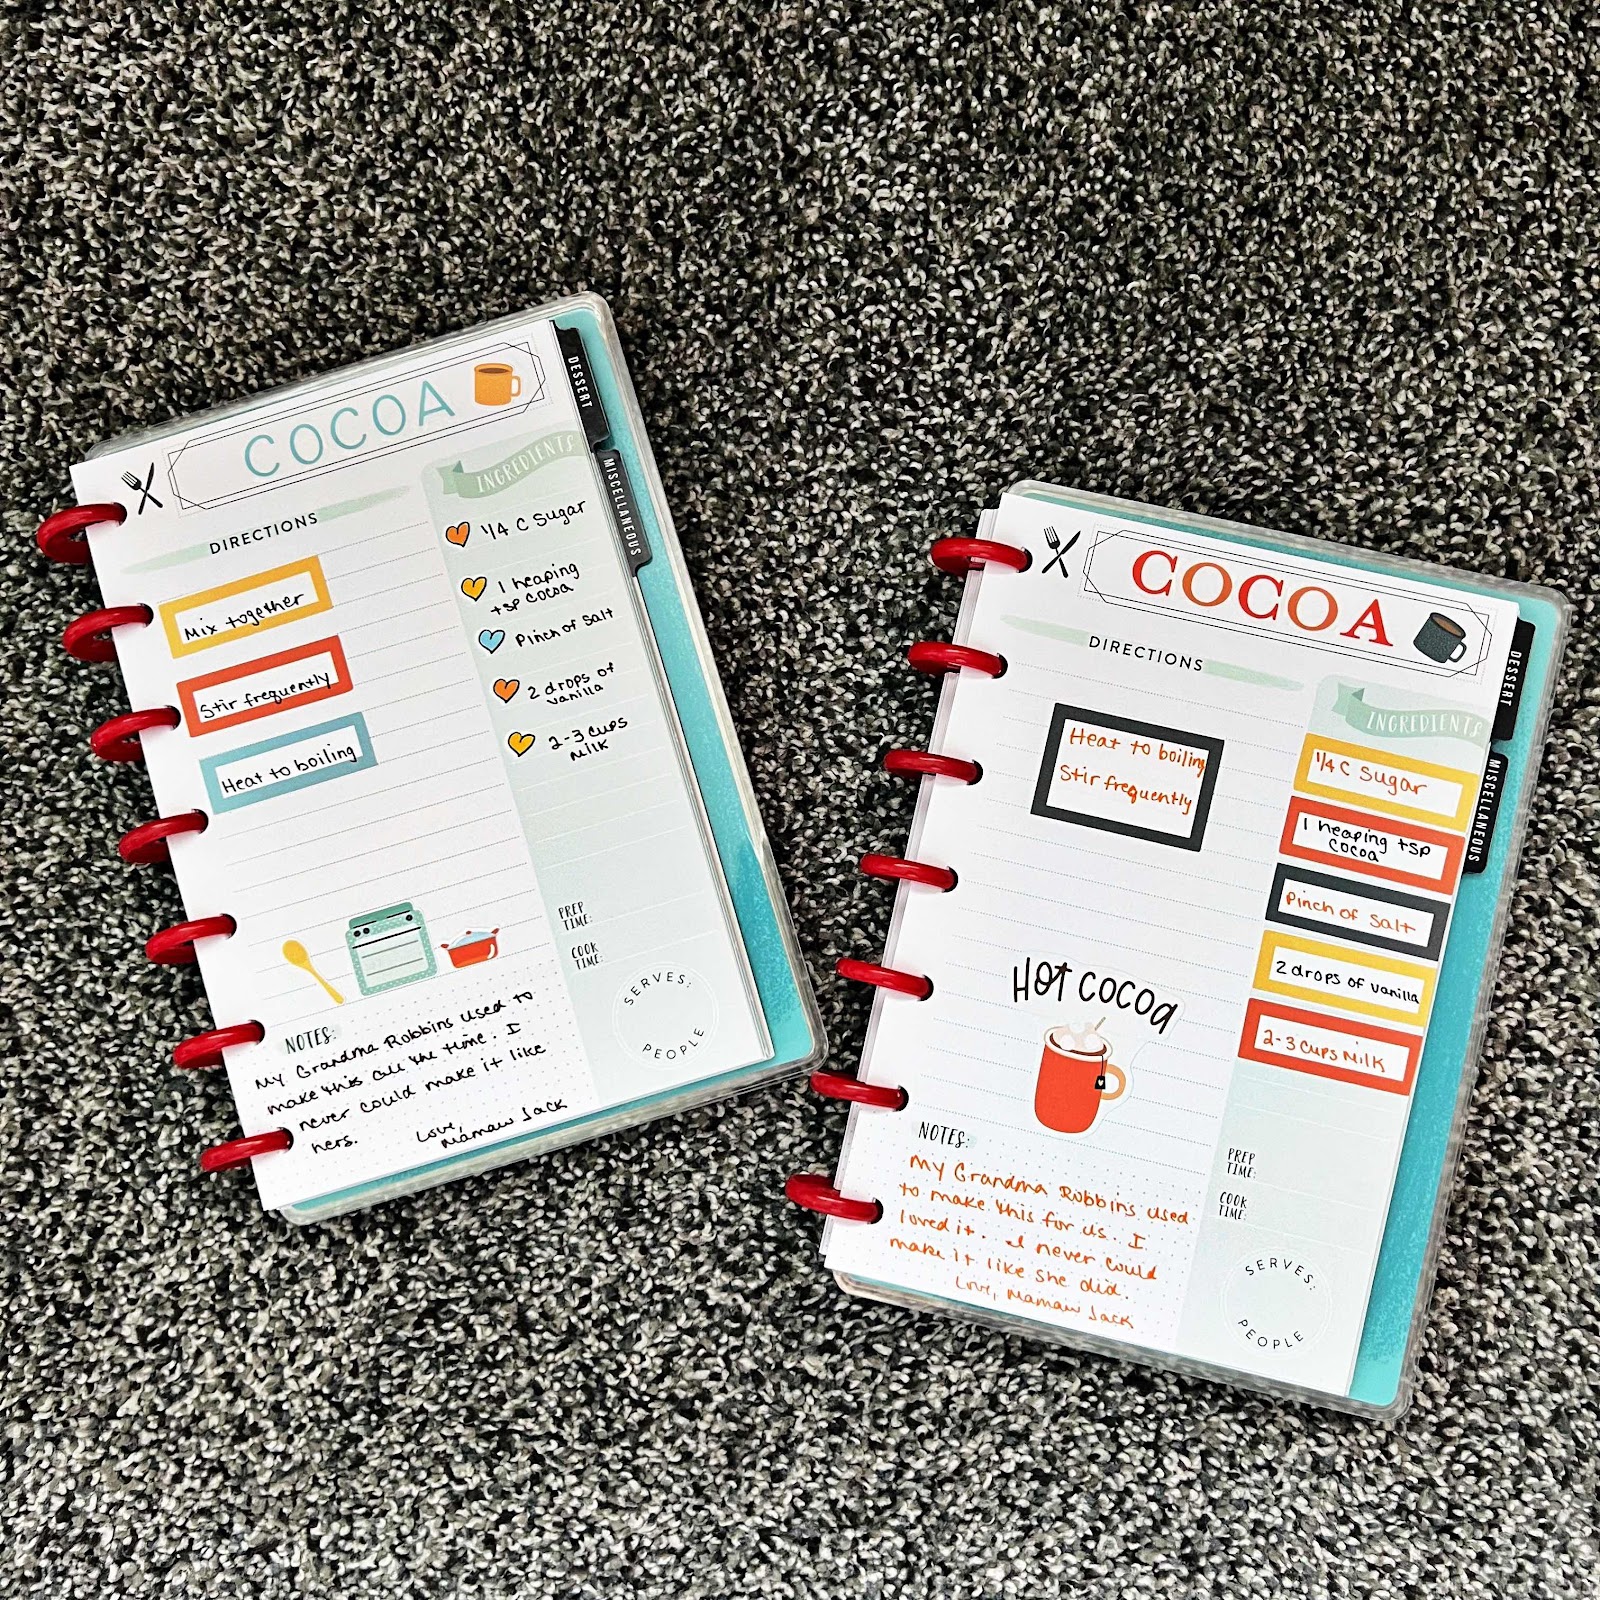
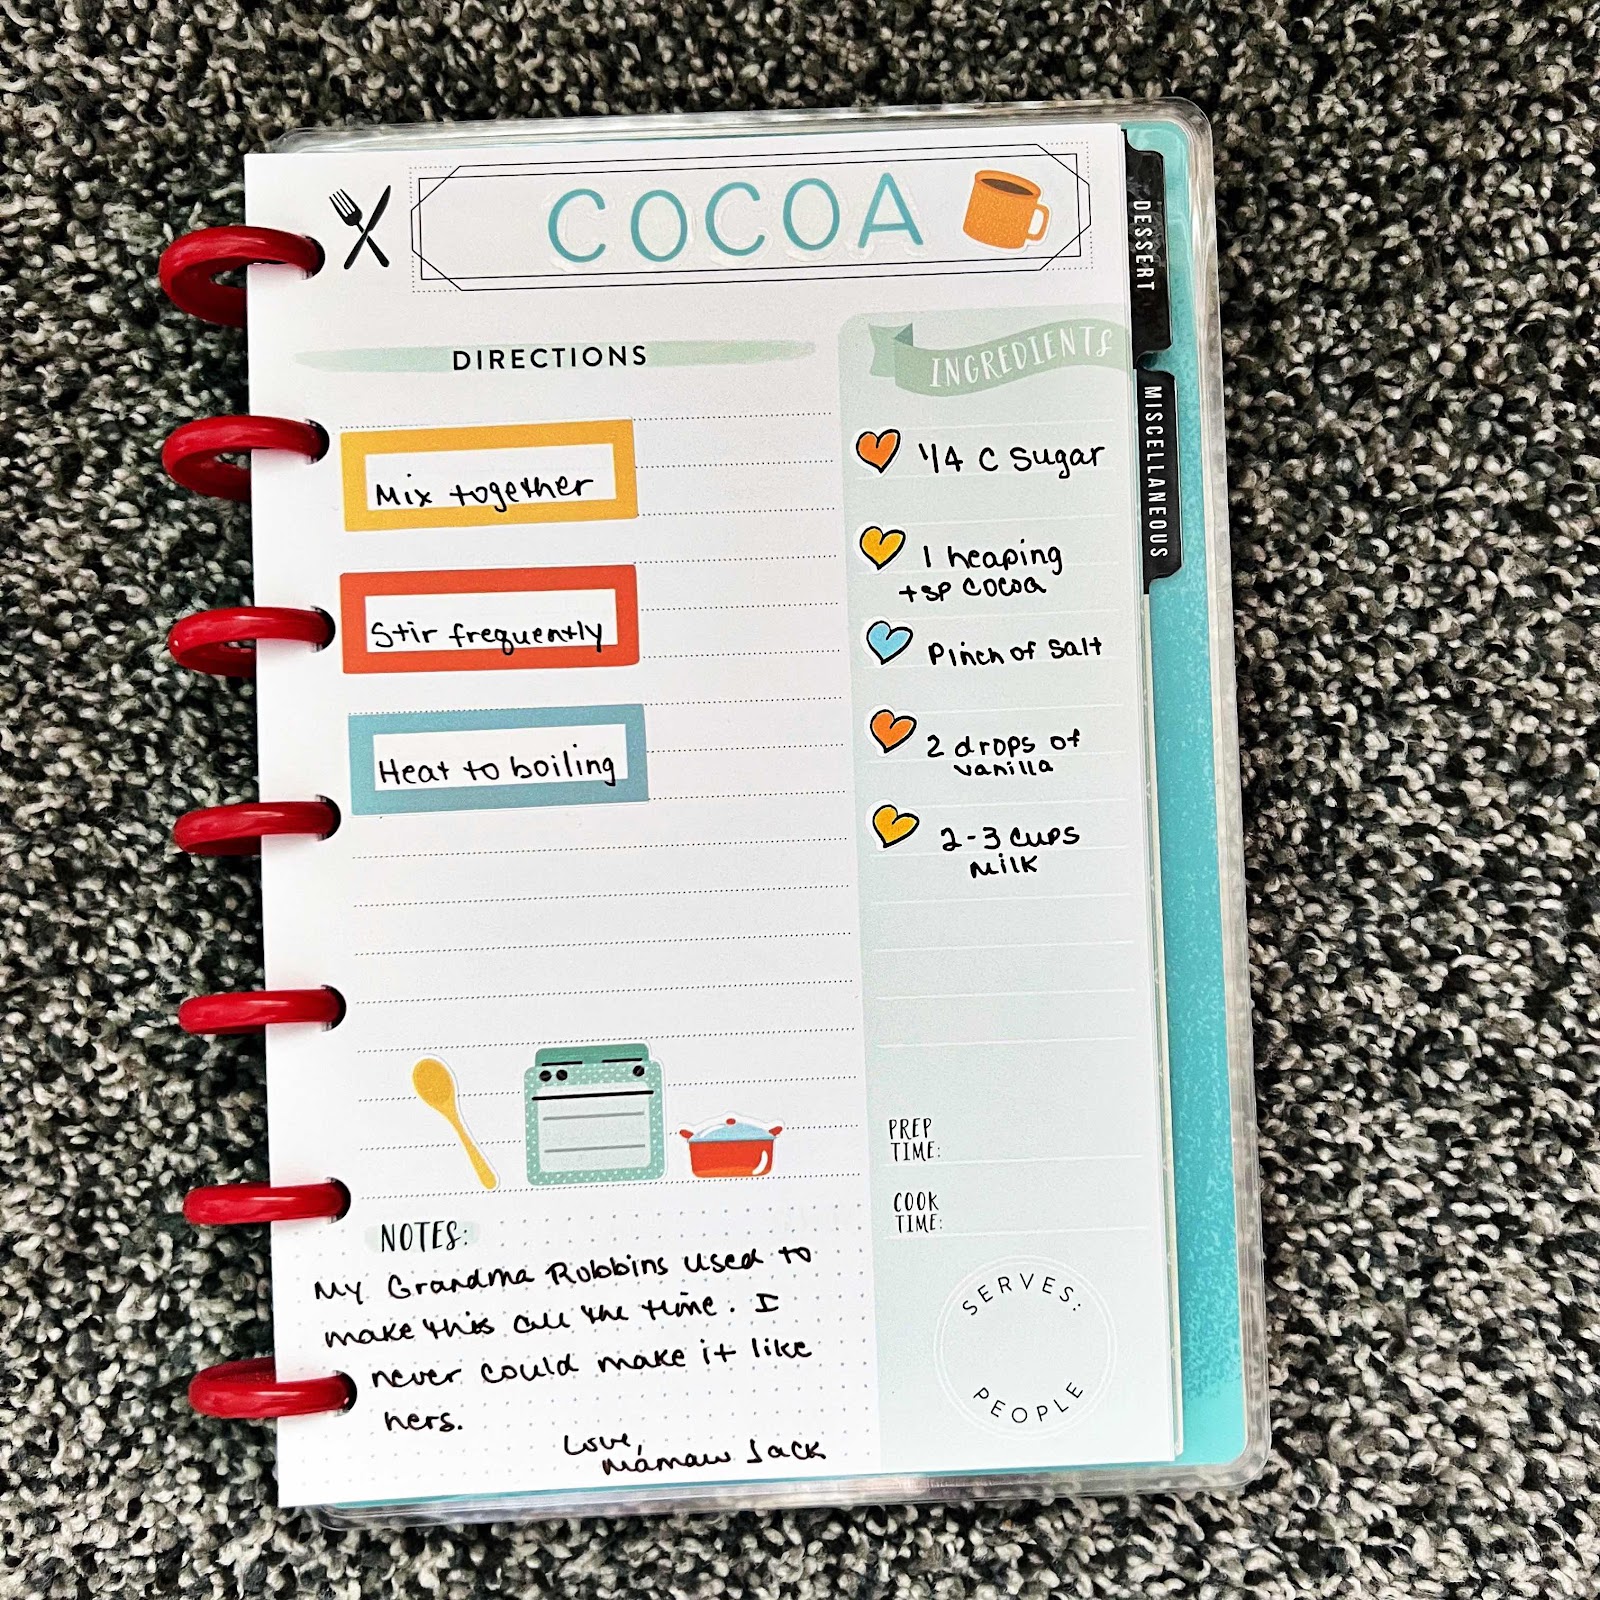
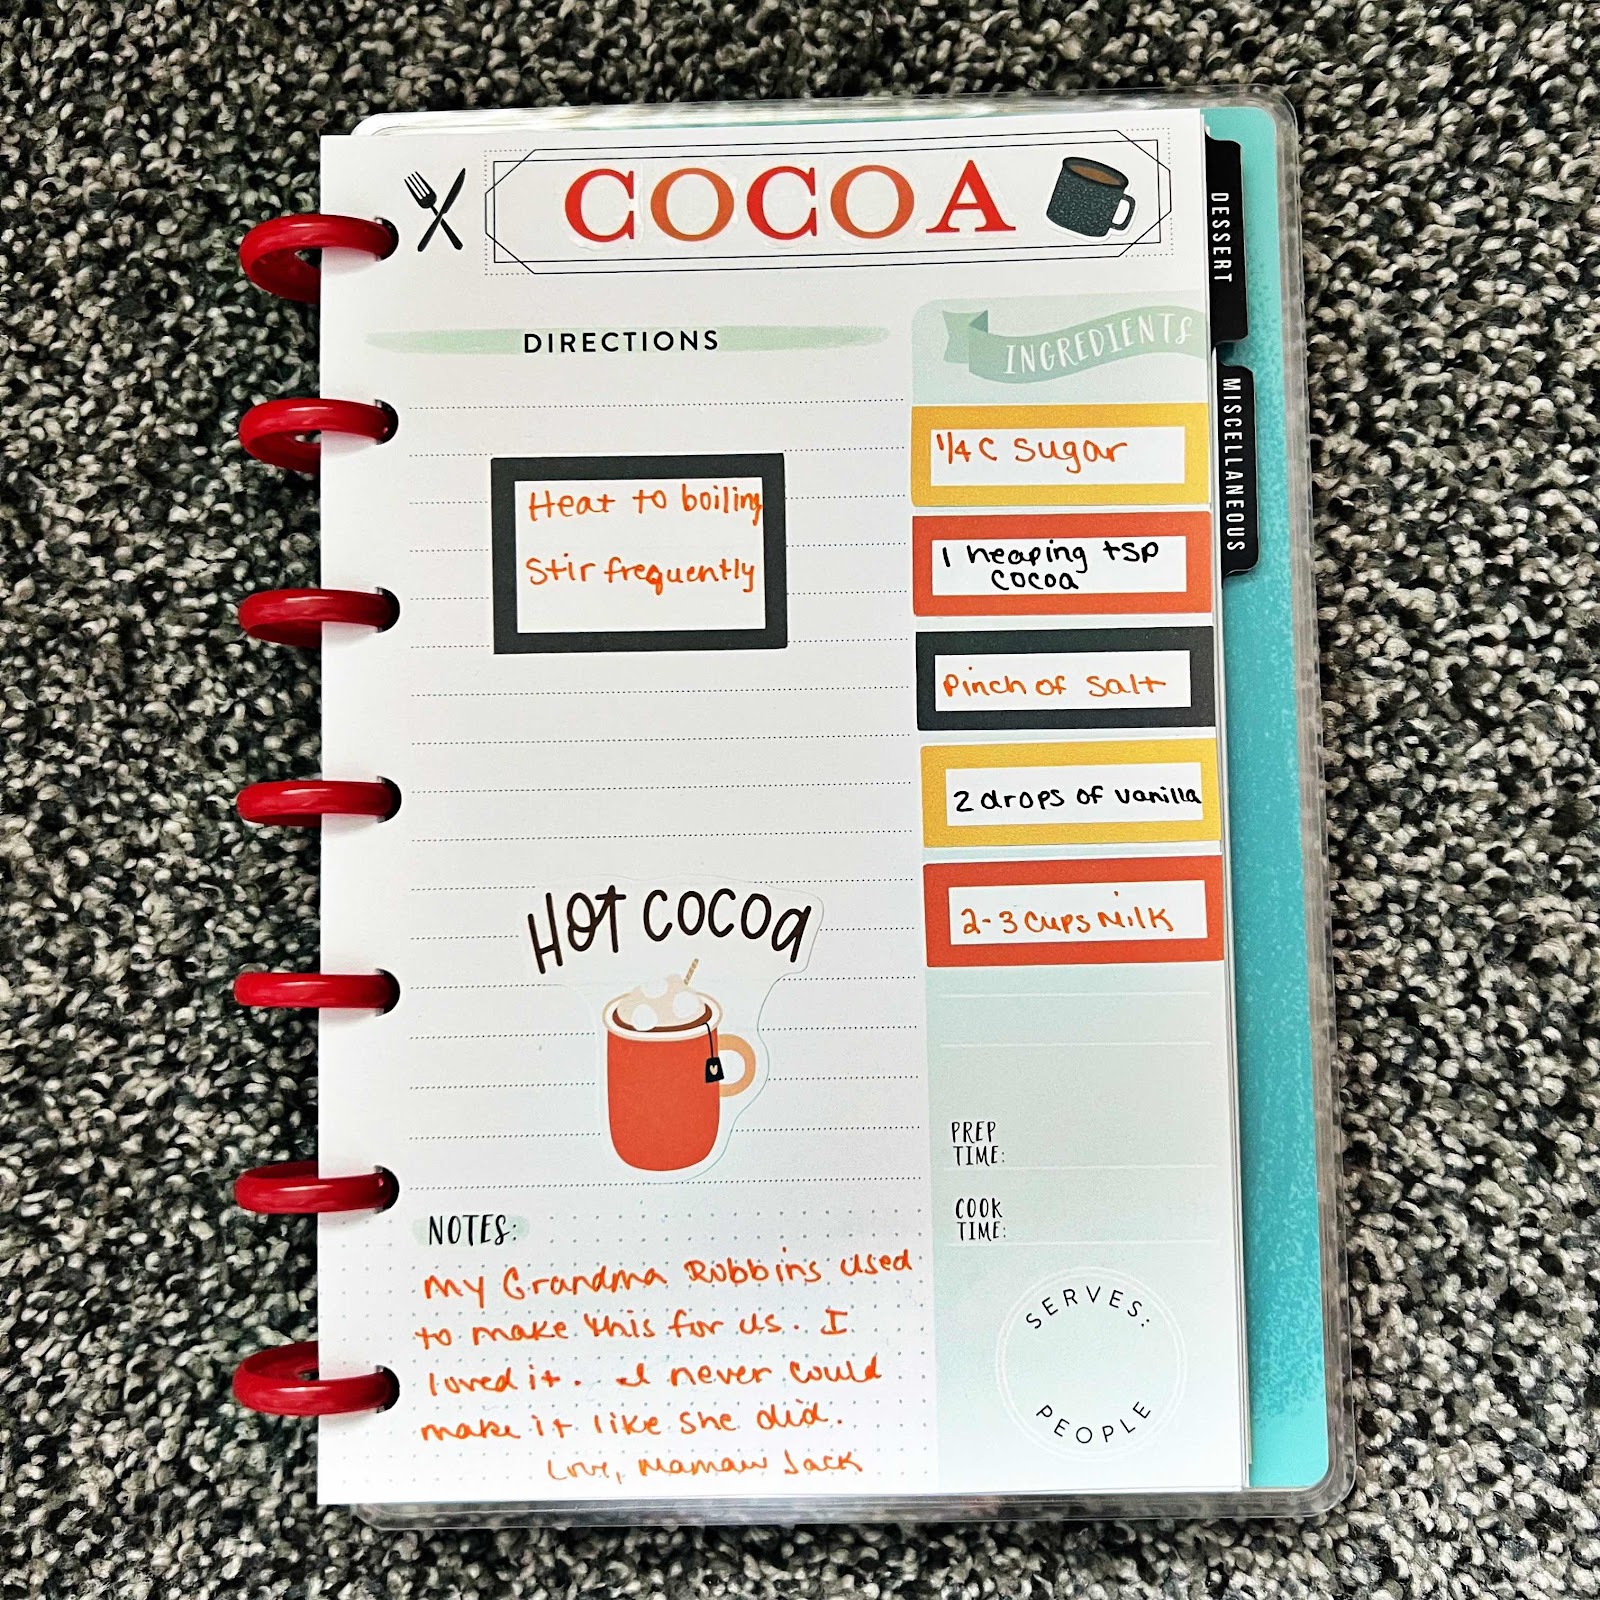
Hot Cocoa Recipe
I am making recipe planners for my 2 oldest granddaughters for Christmas this year. This was my grandma’s recipe that she made for her kids and for all of us grandkids when we spent the night or whenever we asked for it.
The stickers are from various Happy Planner sticker books and my shop, Indiana Inker Plans. Search "Colorful Boxes" in my shop for all of the current options available.
Friday, November 4, 2022
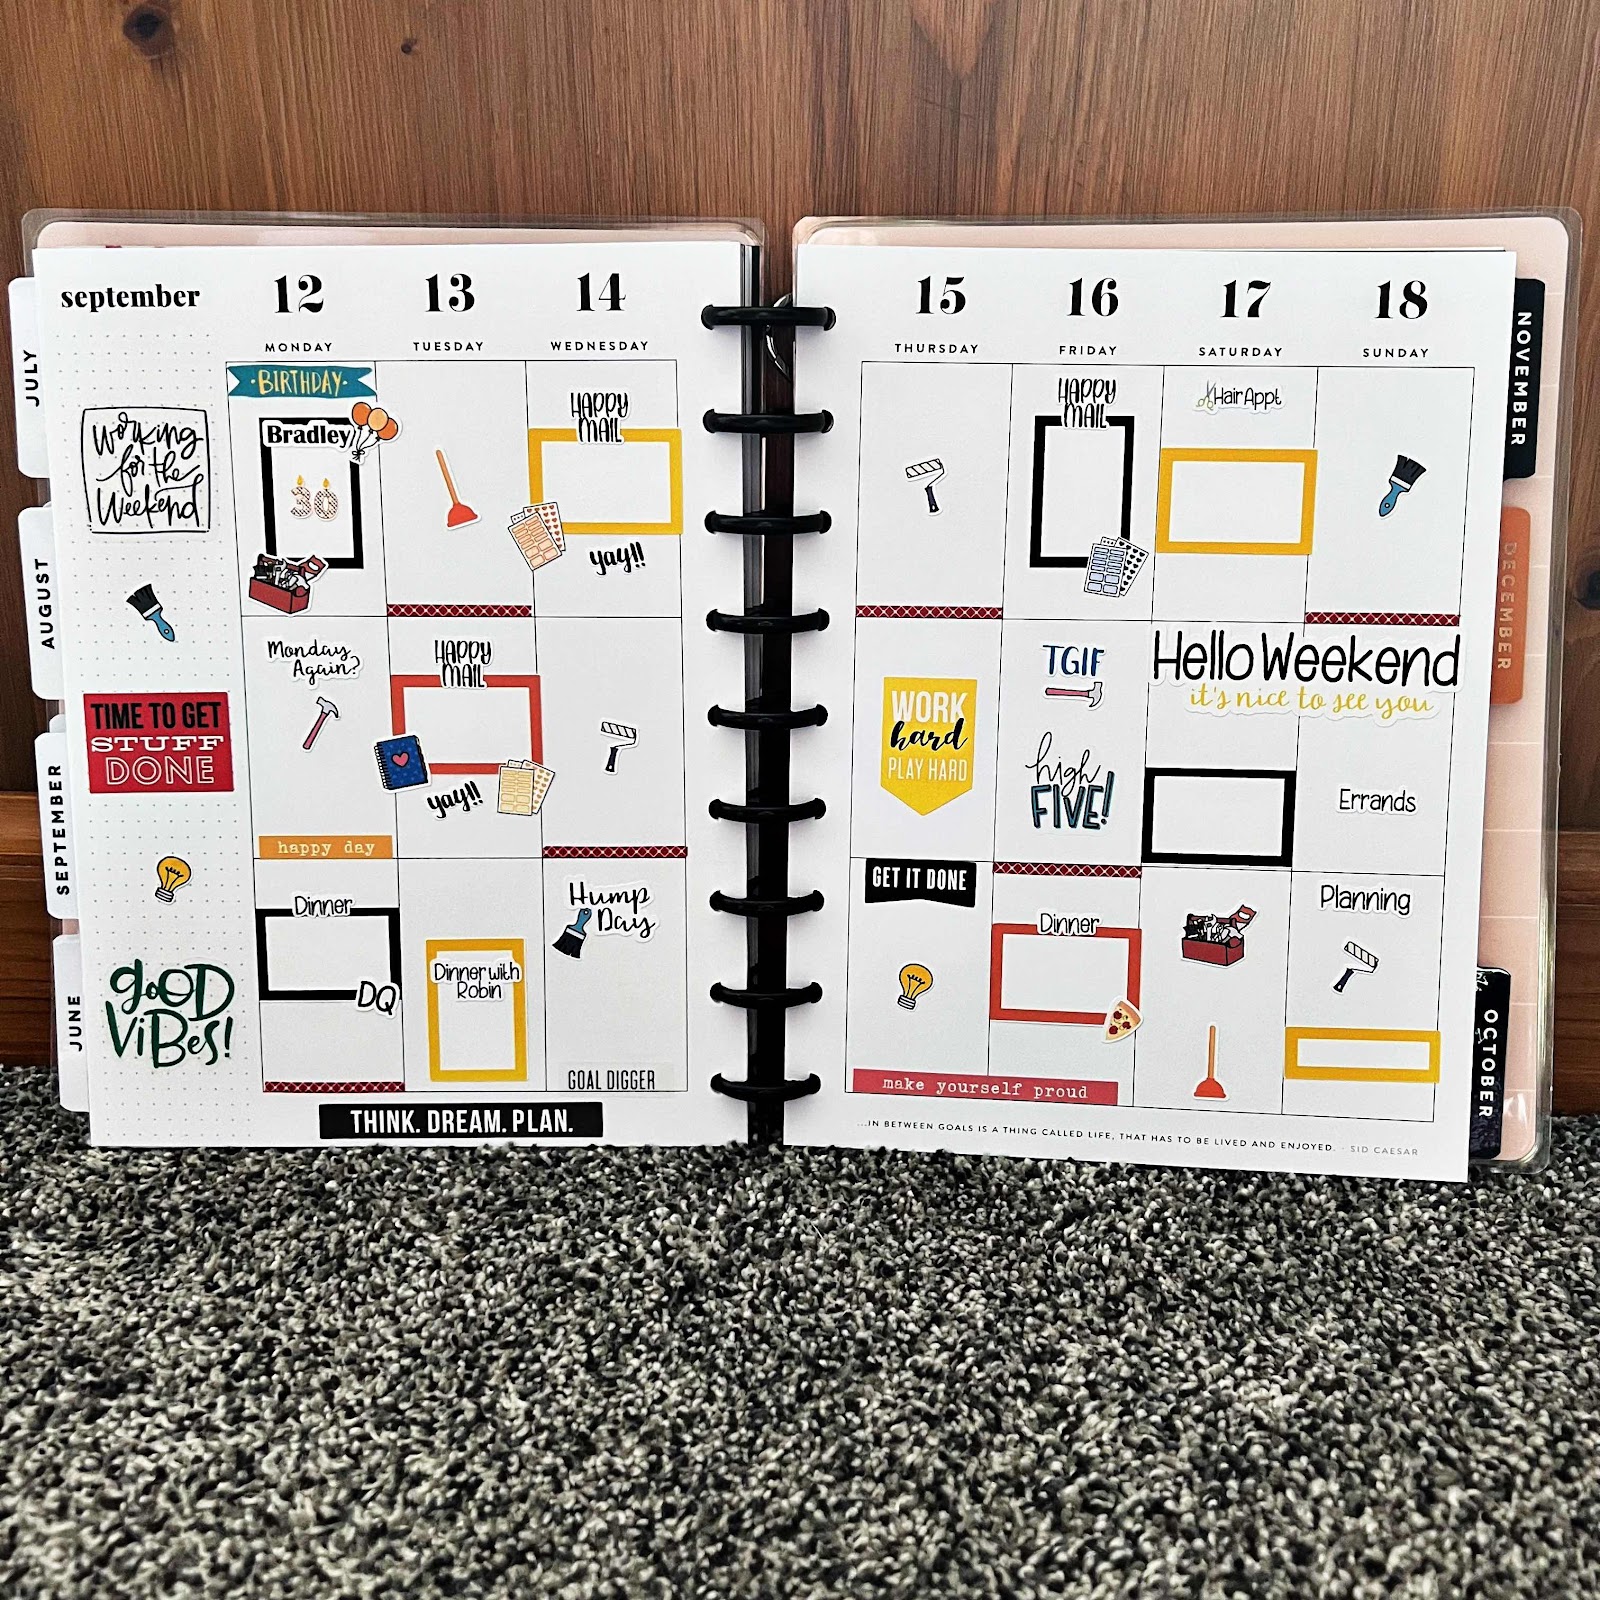
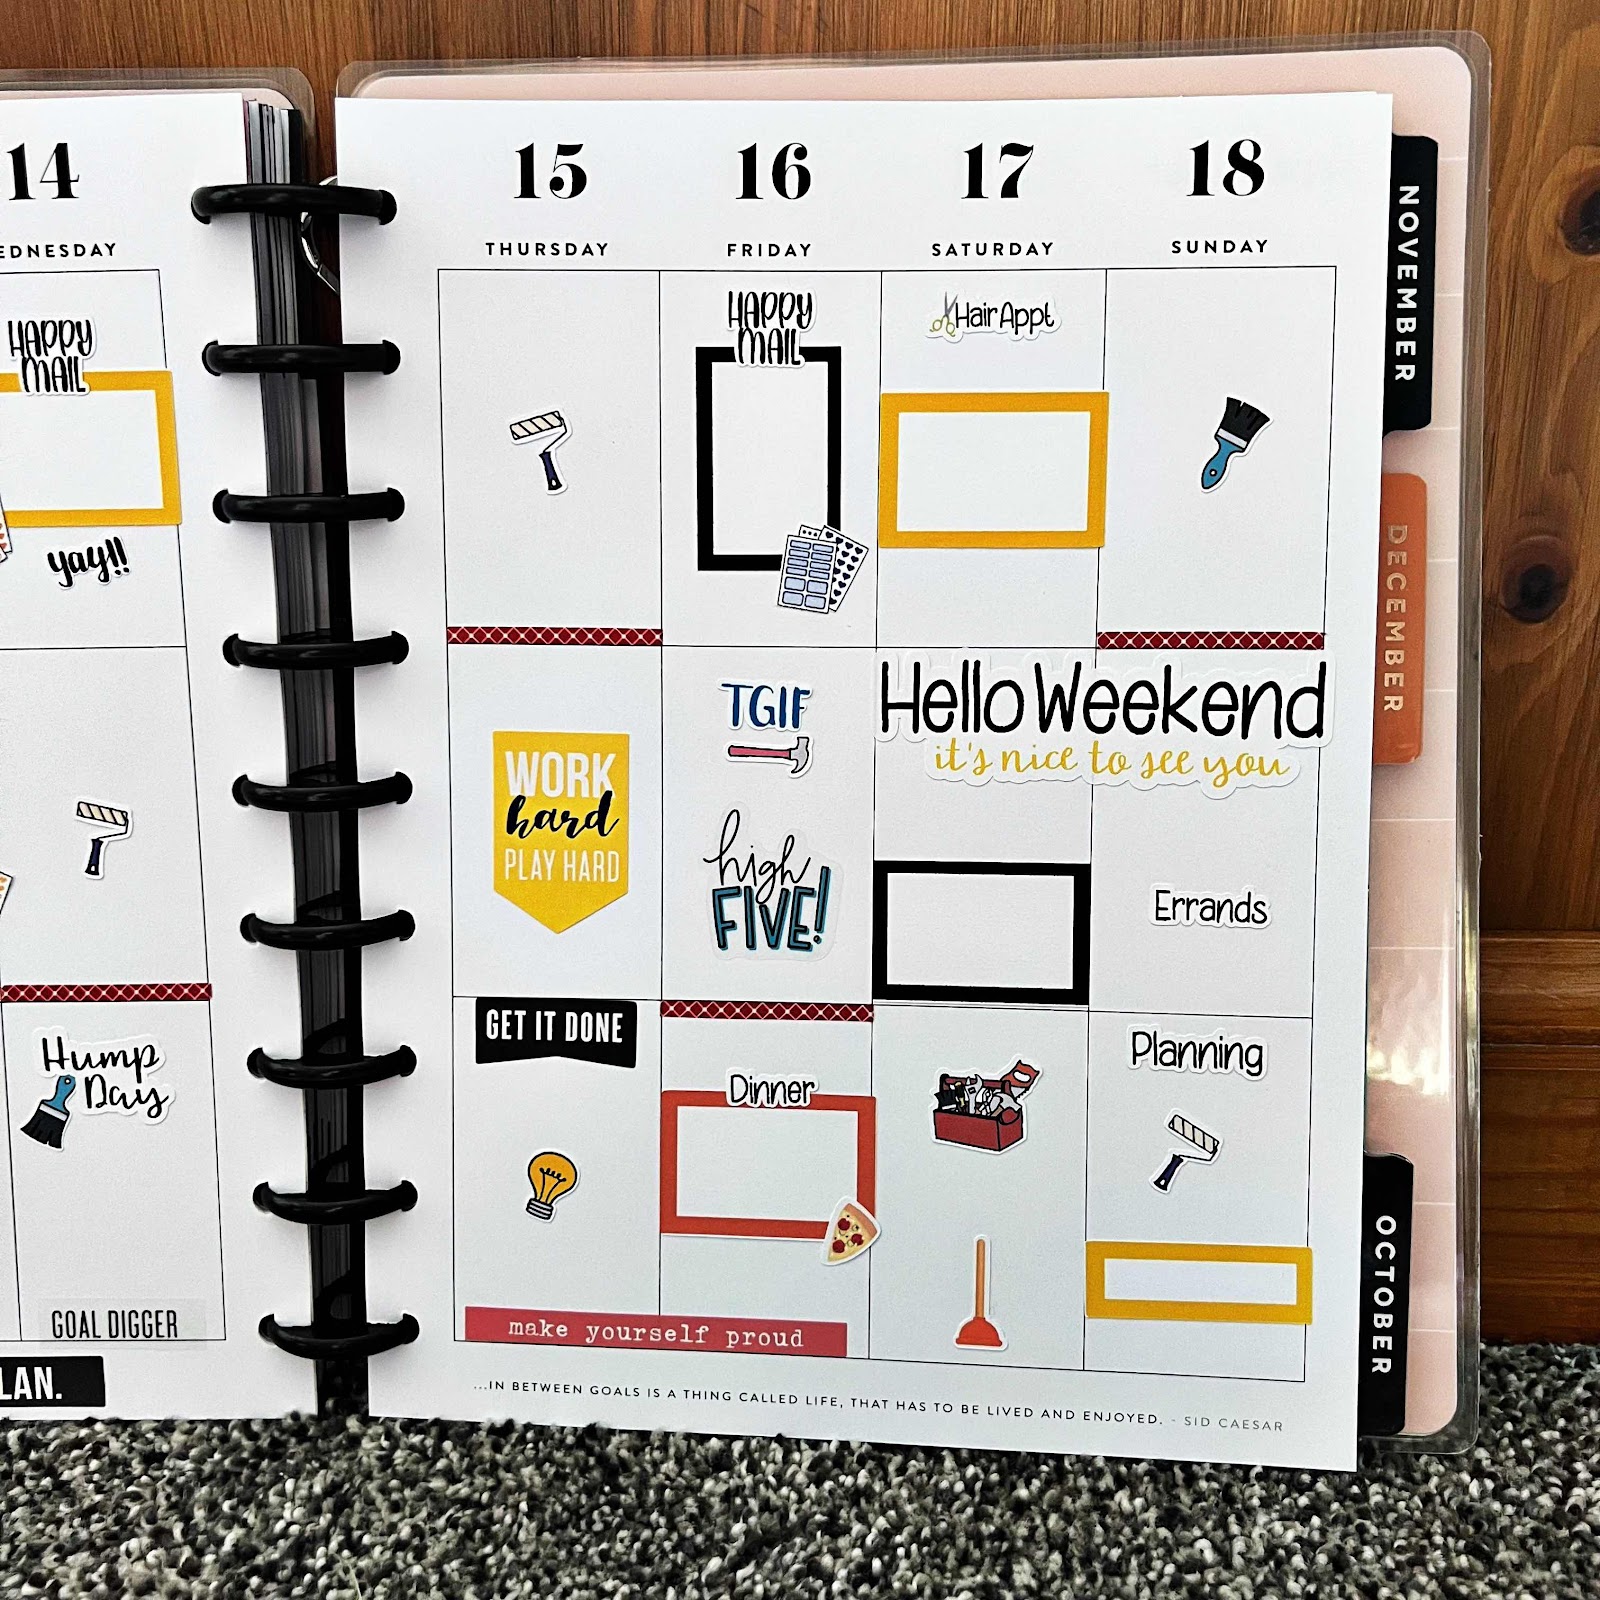
Home Improvement Weekly Planner Spread
This week in my classic Happy Planner I chose a Home Improvement theme. My son’s birthday was this week and just like his dad, he is very handy and does home improvements for a living. All of these stickers came from my shop, Indiana Inker Plans.
Search "Colorful Boxes" in my shop for all of the current options available.

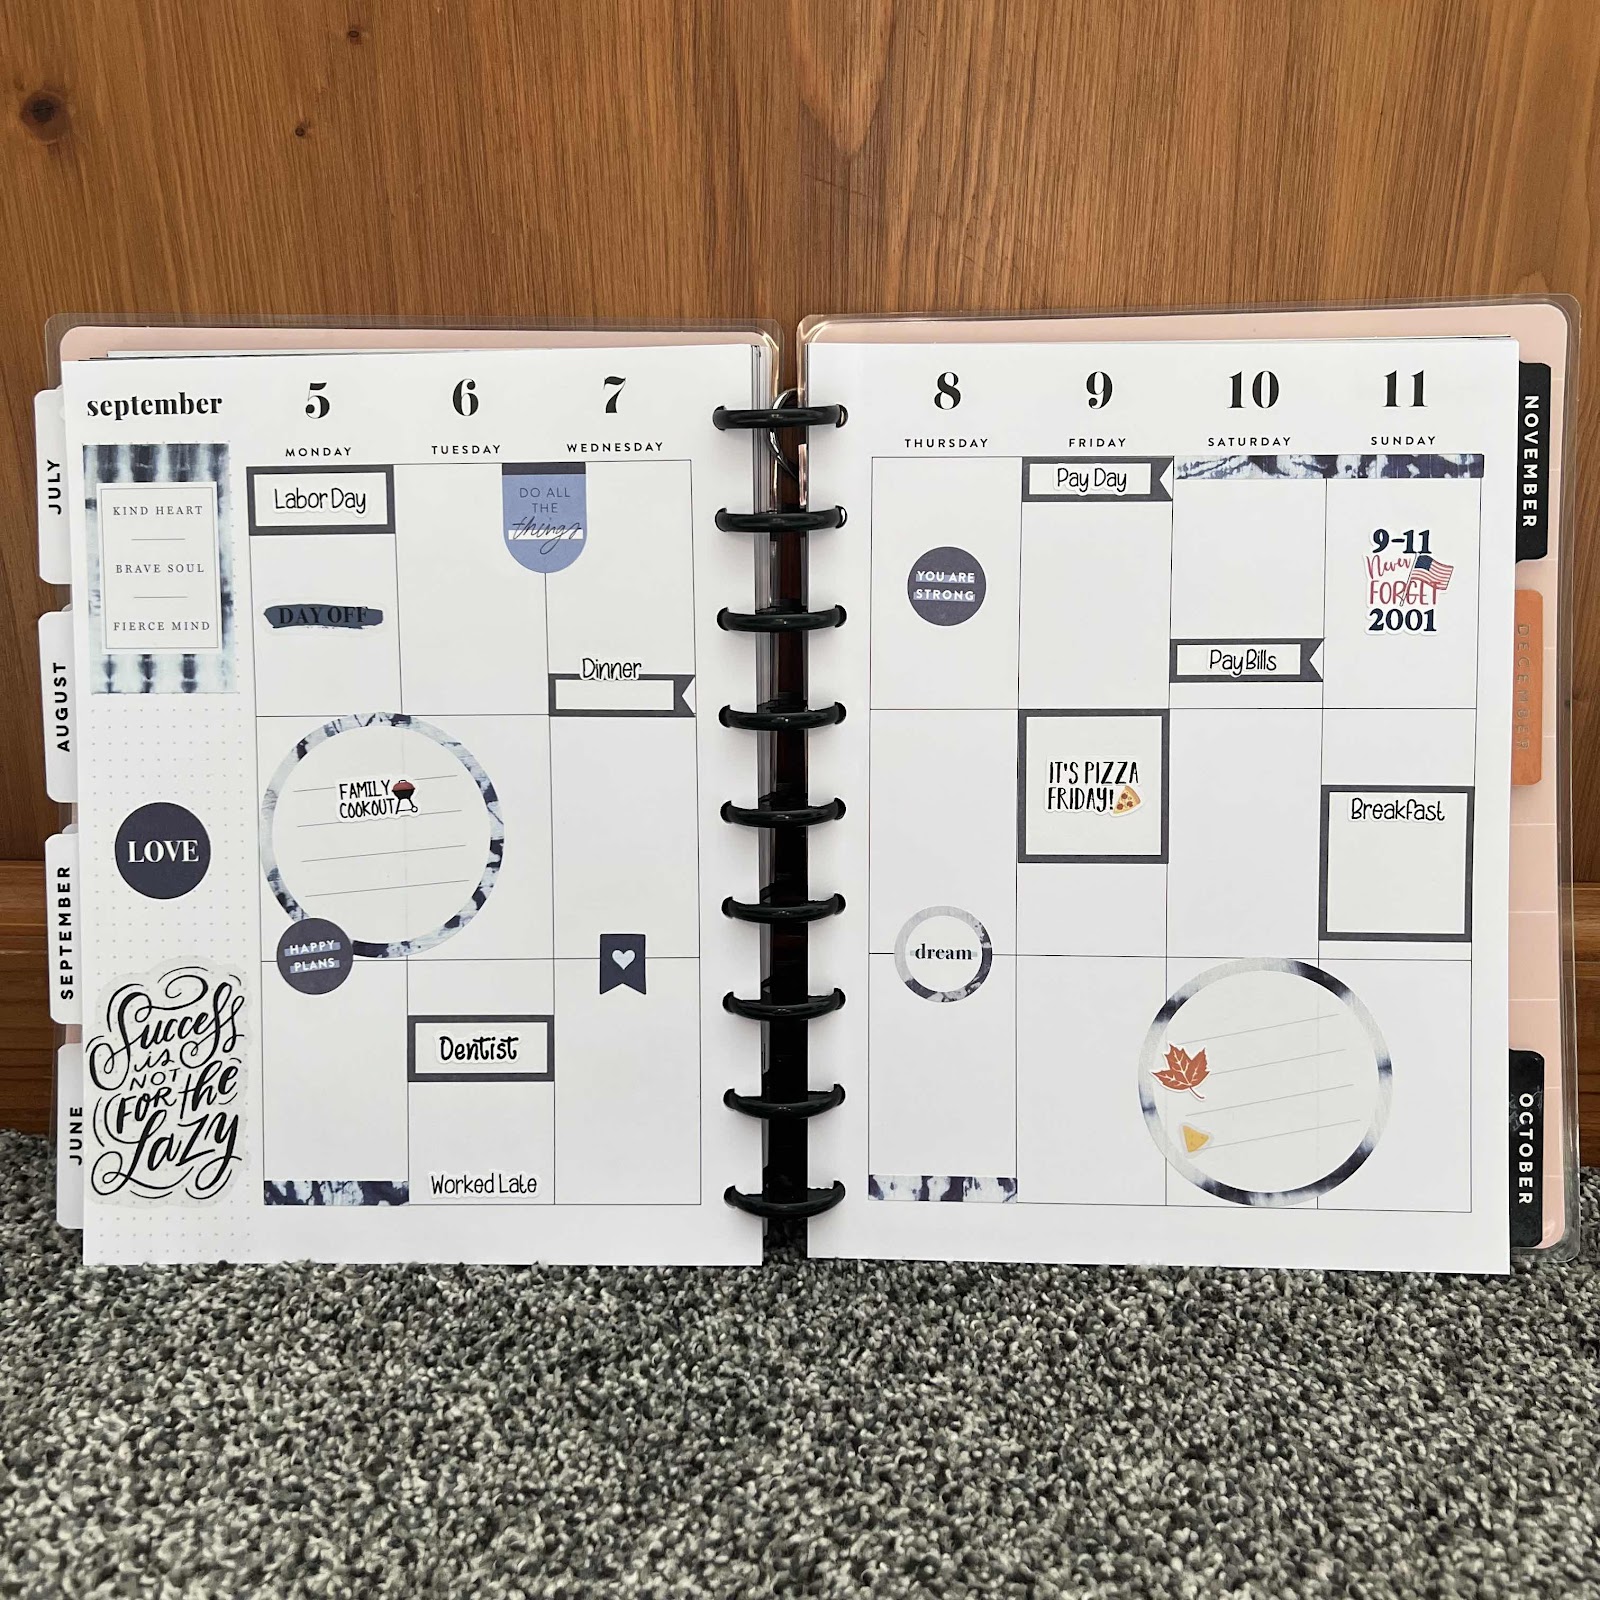
Indigo Weekly Classic Planner Spread
This week in my classic Happy Planner, I used the Indigo sticker book from The Happy Planner. If you’ve followed my blog, you know navy is my happy color, so even though we are headed into fall, I can do a navy spread anytime. I like the tie dye stickers in this book. The script stickers came from my shop, Indiana Inker Plans.


Subscribe to:
Posts (Atom)